Introduction
This guide will act as a walkthrough of steps to complete in order to send a print job to Array. Each step will be linked to a more detailed article.
In this guide you will learn how to:
- Set up Canvas Array and how to access and use the Array dashboard
- How to load filament into material pods, and material pods to Elements on Array
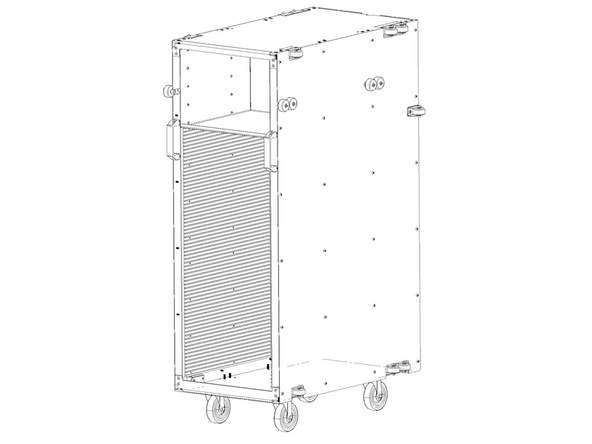
- How to prepare the storage cart
- How to start a print job
- How to clear prints from the storage cart
-
-
Familiarize yourself with the Array System:
-
-
-
-
-
-
You may reference these instructions to link Array to Canvas.
-
This would have already been completed during installation.
-
Go to Canvas3d.io/devices and double click on Array to view its dashboard. The dashboard will provide information on the status of each Element printer, allow you to manage the print queue, and provide controls for each Element printer.
-
-
-
Please see these instructions on how to load filament into a material pod, and how to load the material pod into Element.
-
Please see this guide on how to manage material profiles in Canvas.
-
-
-
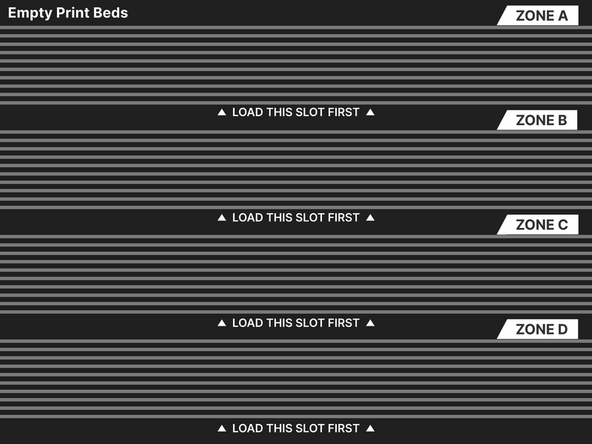
Check that the emptry bed storage area on the top section of the storage cart has been replenished with prepared beds.
-
-
-
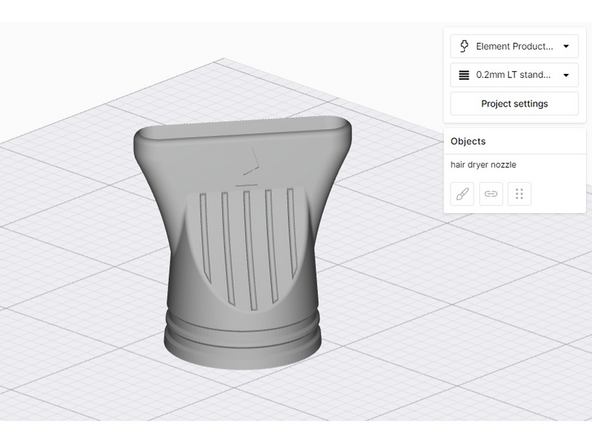
Please see this guide on how to slice in Canvas and prepare print jobs for Array.
-
-
-
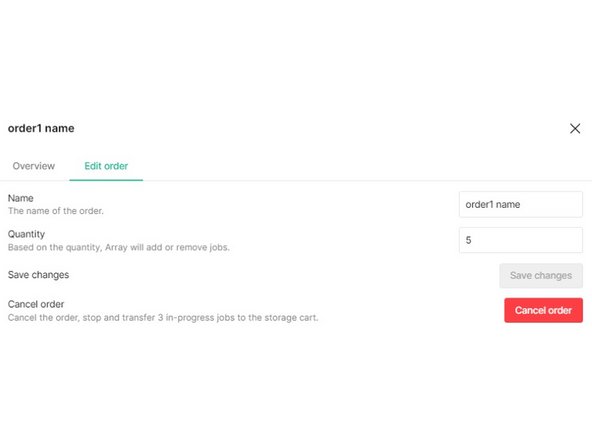
Modifying an Order in Canvas: By selecting the icon at the right side of an order in the Array queue, a window will open that provides options for modification. Specifically, the quantity can be changed and the order can be canceled. Changing the quantity (number of print jobs) will calculate an updated time remaining and cost for the order.
-
Canceling an order will stop any in-progress jobs and transfer them to the Storage Cart.
-
-
-
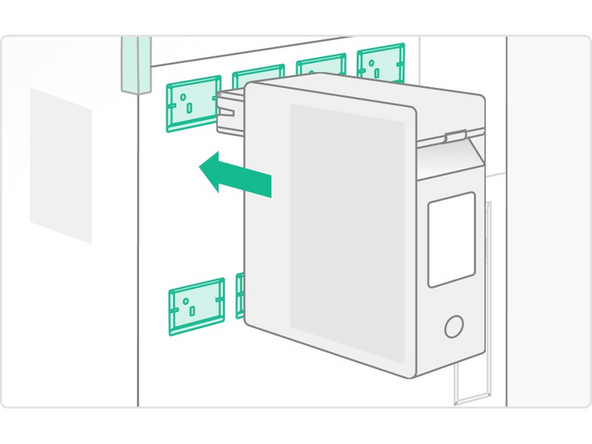
Please see this reference on removing and installing the storage cart.
-
Please see this guide on how to remove prints.
-
Replenish the empty bed storage if needed.
-
-
-
As you become more familiar with your Array, you may refer to this checklist on what to do before starting a print operation.
-
If you have any additional questions, please send us a message at support@mosaicmfg.com
If you have any additional questions, please send us a message at support@mosaicmfg.com
Cancel: I did not complete this guide.
One other person completed this guide.


