Introduction
If you see blobs or material form at the densifier, this indicates that the nozzle is not aligned correctly with the densifier during purging.
This article includes steps for recovering from this position and resolving the misalignment
If you need any further support, don't hesitate to reach out to your Account Manager or support@mosaicmfg.com
-
-
If the printer is not homing XY correctly, this will cause issues at the densifier.
-
Follow our full XY Homing Error guide to test XY homing and resolve any failure
-
If XY is homing correctly, proceed to step 2
-
-
-
Check that the top two screws on the densifier are fully tightened
-
Clean the inside of the densifier of any material. Ensure that the densifier swing can move all the way up
-
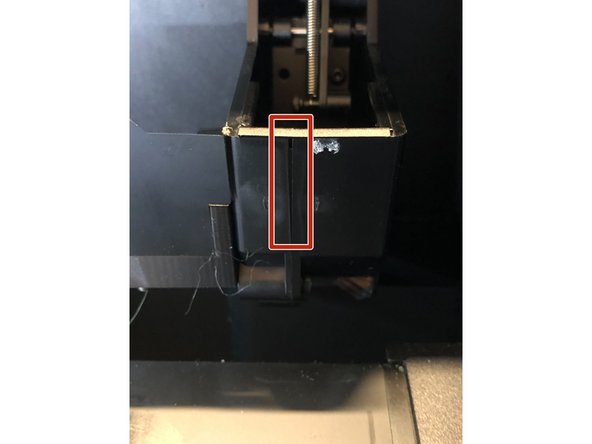
Check if the swing cover is bent or damaged, as in the photo. If so, contact Mosaic for a replacement.
-
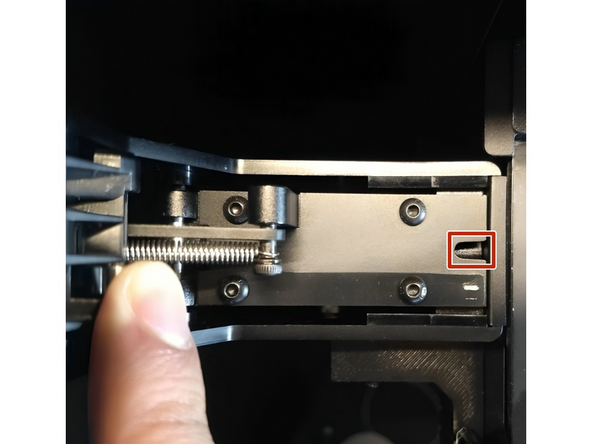
From the side, check if the densifier lip is bent or damaged. If so, contact Mosaic for a replacement
-
-
-
Check that the two clam shells are fully snapped together. If there is a visible gap, as in the photo, try squeezing the two shells back together
-
You can jiggle the metal lip sightly to get it into position as you squeeze the clam shells together
-
-
-
When the densifier swing is moved up, the densifier ram should retract, leaving the hole completely open
-
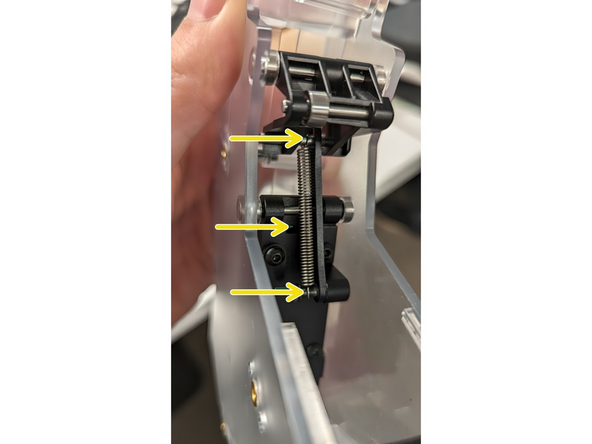
Move the swing up manually and check if the ram retracts fully. If not, apply lubricant (WD-40) to the densifier in the three locations indicated
-
If the ram still does not retract when the swing is in the upwards position, contact your Account Manager or support@mosaicmfg.com
-
-
-
Clean the hot end by heating nozzle and using a wire brush, or similar, to clean any excess material
-
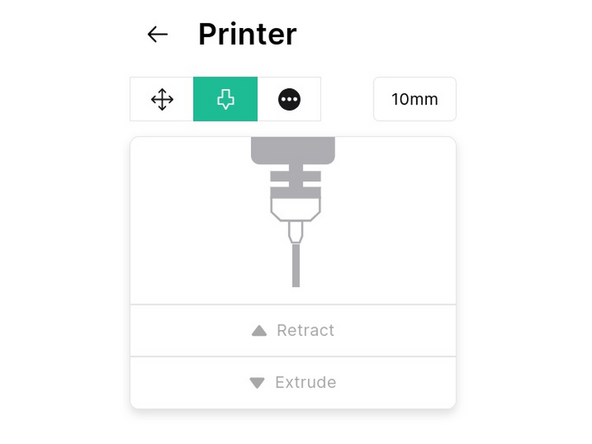
Load material into the Print Head and check that the hot end can extrude, using Printer > Controls
-
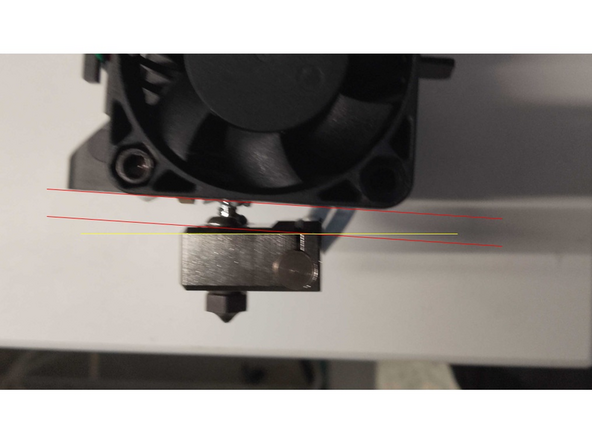
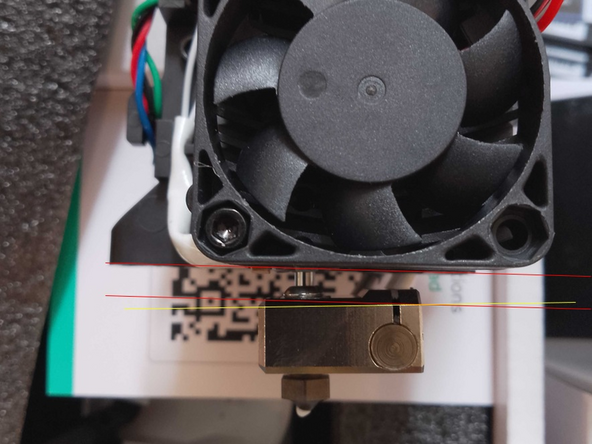
Turn off Element and remove the Print Head. Check if the nozzle looks skewed, as in the photo. Share with your Account Manager or support@mosaicmfg.com for confirmation
-
-
-
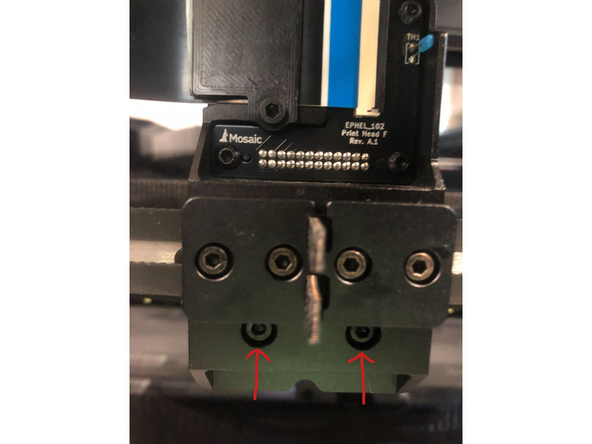
A possible cause of misalignment is due to a skewed or loose fixed end. To check for this, turn off Element and remove the Print Head
-
Tighten these two screws on the bottom of the fixed end, while pushing straight down firmly on the top of the fixed end
-
-
-
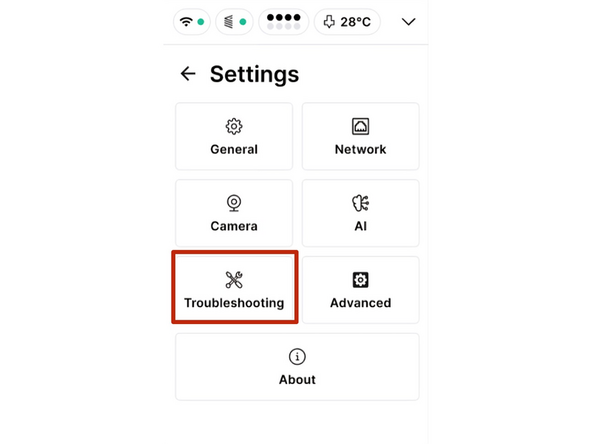
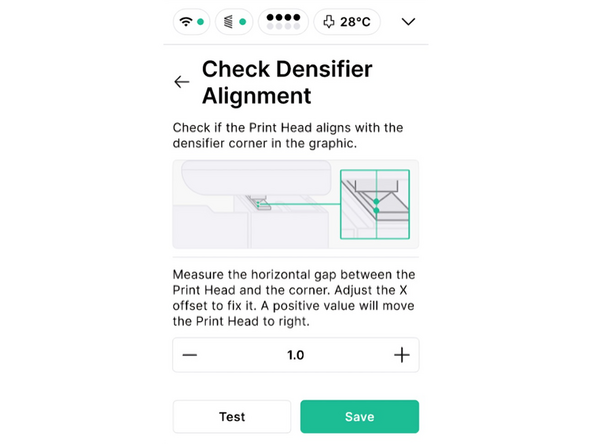
If the densifier and print head are in working order, it's now time to test densifier alignment. Proceed to Settings > Troubleshooting to begin the testing workflow
-
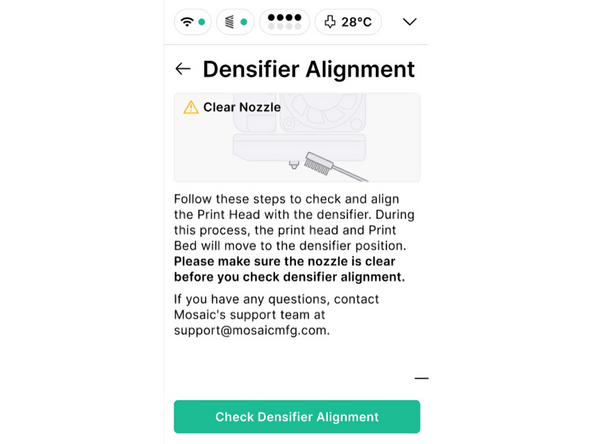
Make sure the nozzle is clean, then begin the densifier alignment check. The Print Head will home in XY and Z, then move to the alignment position at the densifier
-
Following the on-screen instructions, check that the nozzle is aligned with the left edge of the rectangular heat block, on top of the densifier swing. Adjust and retest the alignment as necessary, before saving. Monitor densifier performance at the start of the next print.
-
The maximum adjustment is 2mm in either direction. If this is insufficient to for correct alignment, you are likely seeing an XY Homing Error. Contact support@mosaicmfg.com for more help
-
Cancel: I did not complete this guide.
One other person completed this guide.
One Comment
I checked along these service instructions - it's O.K., but how to eliminate a very big deviation of the head - , as my ELEMENT has?
Hoping for a very simple solution!
Thomas


