Introduction
The Storage Cart provides a place for finished prints and empty print beds. To allow for gantry operation the Storage Cart must be installed.
Important: When installing a Storage Cart, it is required that all finished prints and print beds have been removed from the part storage area.
-
-
Open the doors at the back of Array
-
On the back screen of Array, tap on the Storage Cart icon
-
If there are issues with the back screen, the same controls can be accessed on Array's front screen.
-
Tap on Prepare to uninstall - this will pause the gantry, preparing Array for you to uninstall the cart
-
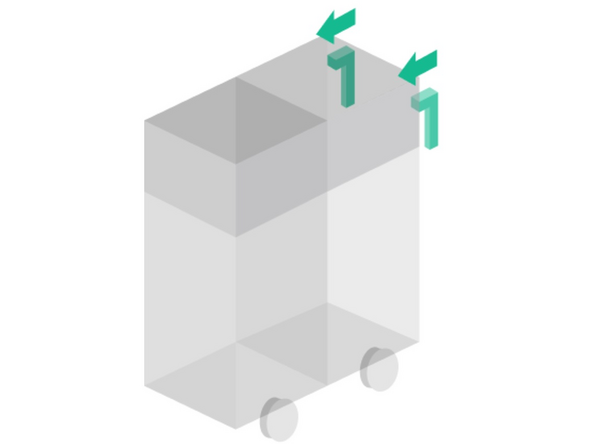
Grab the green handles and pull the cart backwards until it is free from Array
-
-
-
Open the doors at the back of Array
-
Using the green handles on the back of the Storage Cart, guide the cart into the bay in Array. The guide wheels on the side of the cart will help to align the cart within the Array system
-
Please move the storage cart carefully without too much force. As you push the cart further, you will feel it move over a small bump
-
Continue to push the cart into Array until you feel the cart register against a physical end stop
-
-
-
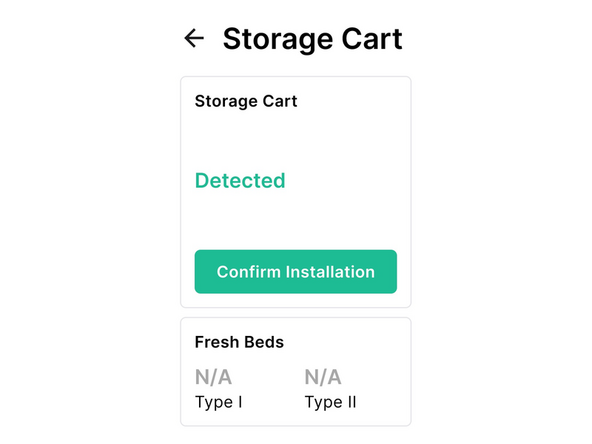
On the back screen of Array, tap on the Storage Cart icon If installed correctly, the system will show that the cart is detected
-
Important: Check the front of the storage cart through the front door, to see if any beds have slid out of the bedfeeder. Ensure that all of the print beds are lined up edge to edge, and that none are protruding
-
Tap on Confirm Installation and follow the prompts on the screen
-
-
-
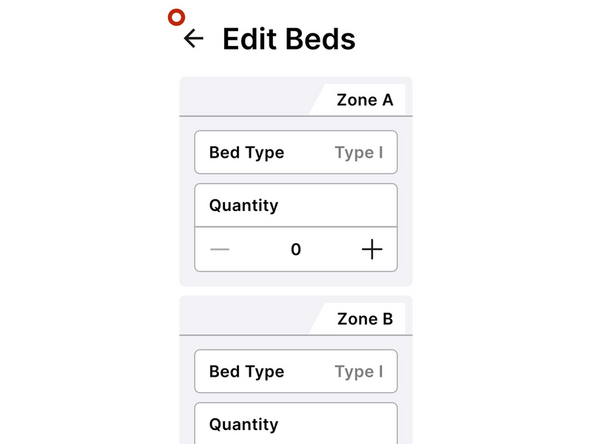
Use the back screen to edit the number of empty beds available
-
Close the doors at the back of Array
-
If you have any additional questions, please send us a message at support@mosaicmfg.com
If you have any additional questions, please send us a message at support@mosaicmfg.com


