
Introduction
Please connect Element to a WiFi network and link to a Canvas account first, in order to send files directly.
In this guide you will learn how to:
- Create Element printer profile
- Prepare a project in Canvas
- Familiarize with materials profiles and coloring models
- Send a print file to Element
-
-
Create a new printer profile by going to Printers > +New Printer > Preset
-
If you're using an LT Print Head, use the 'Element' profile. The 'Element HT' profile is only for use with HT Print Heads.
-
-
-
Visit the Projects menu. Click the +New Project button on the right.
-
-
-
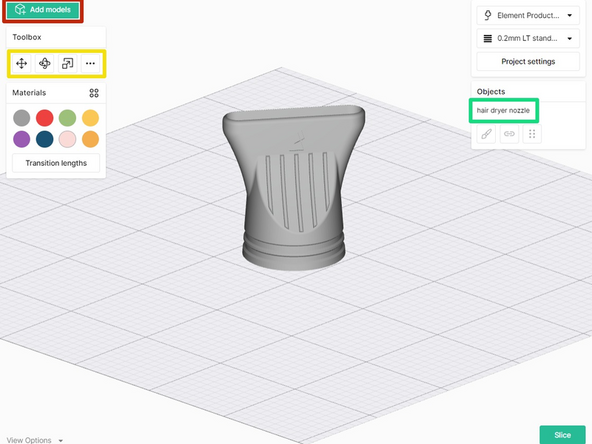
Click the Add Models button, or click and drag files from your file explorer directly into the browser.
-
STL files of up to 100MB are compatible with Canvas.
-
Use the toolbox to move, scale and rotate the model. More Options (...) will allow you to auto-arrange, lay a face to the bed, or drop the models to the bed.
-
Selecting the model in the Objects panel will allow you duplicate the model.
-
-
-
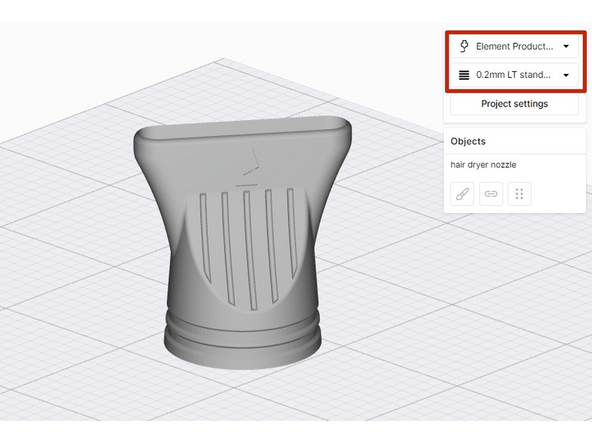
From the top-right menu, select the Element Printer profile and Style profile.
-
-
-
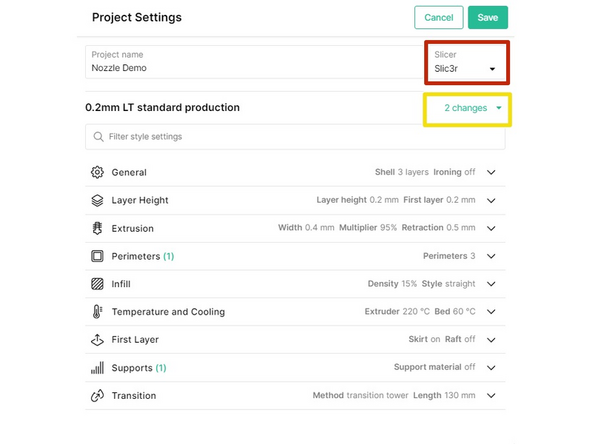
Open the Project Settings to adjust slicer settings.
-
You may select between the Kisslicer and Slic3r/PrusaSlicer engines.
-
As you tune and improve the printer profile, changes made here can be saved to an existing style profile, or a new style profile can be created.
-
-
-
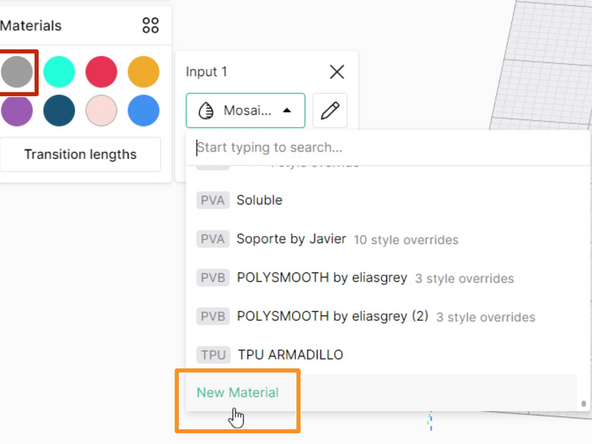
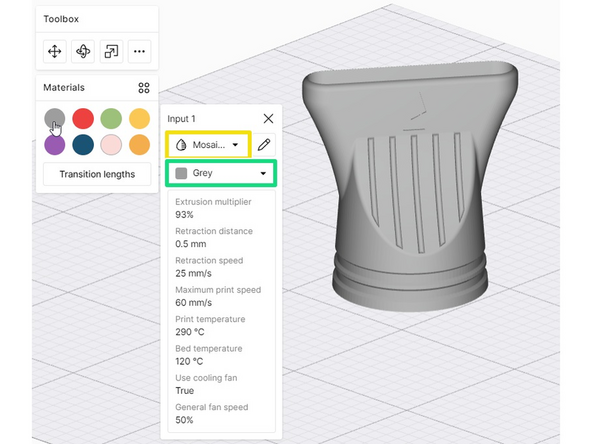
Start by selecting the color swatch under Materials, that will be used to color and visualize the part. Drag and drop this circular color swatch from the Materials panel over the STL or the file name in the Objects panel.
-
If you have not already created a material profile, you may create a new one by scrolling to the bottom of the Materials dropdown. Learn more on creating and managing material profiles here.
-
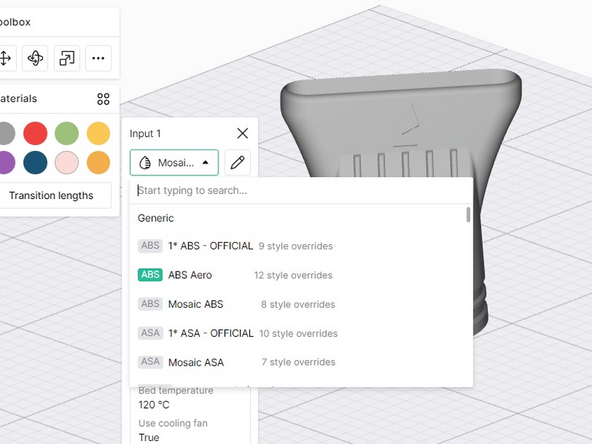
Next, select the material profile for that color swatch (e.g. PLA).
-
Green tags on material profiles indicate that they are a Mosaic material.
-
Lastly, select the filament color you would like to use for this material profile.
-
Third-party materials will allow for custom color selection.
-
The material profile and color selected here must match the material loaded to the Material Pod on Element/Array.
-
Third-party materials must use an NFC tag to be detected correctly by Element.
-


If you have any questions, please don't hesitate to contact us at support@mosaicmfg.com.
If you have any questions, please don't hesitate to contact us at support@mosaicmfg.com.
Cancel: I did not complete this guide.
3 other people completed this guide.
