Introduction
If you're not printing with a Palette, please skip this step. In the following steps Palette 2 will automatically calibrate with your printer. Palette needs to produce the exact required length for each filament so that splices reach your nozzle at the correct time. However, 3D printers aren't perfectly accurate. For example, your print file may contain 10m of filament extrusion instructions, but your printer might only use 9.7m of filament. These small errors add up over a print, slowly throwing off the alignment of splices.
Calibration gives Palette a baseline for the amount of error in your printer's filament consumption so that filament production is adjusted accordingly. This is especially crucial at the start of a print, before Palette's live feedback systems kick in.
Before you begin the calibration print, please make sure that you have already completed the following:
Update Palette 2 firmware. Always ensure that you're using the most recent version of our firmware as we continuously improve features.
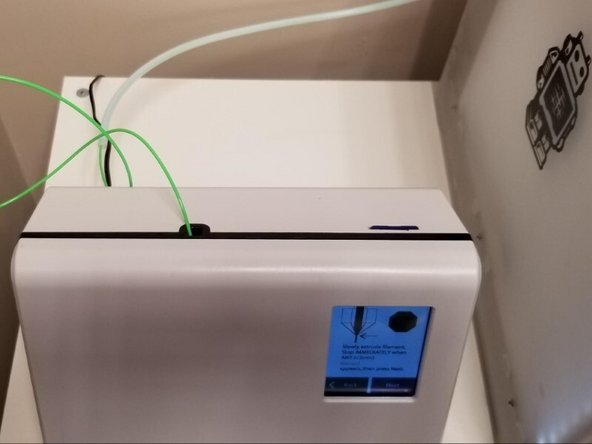
Set up your Palette 2, 3D printer, and Filament holder. When you turn on Palette 2 for the first time it will guide you through the initial setup. Make sure that the following have been completed:
- Palette is positioned close to your printer
- Palette is secure on its stand
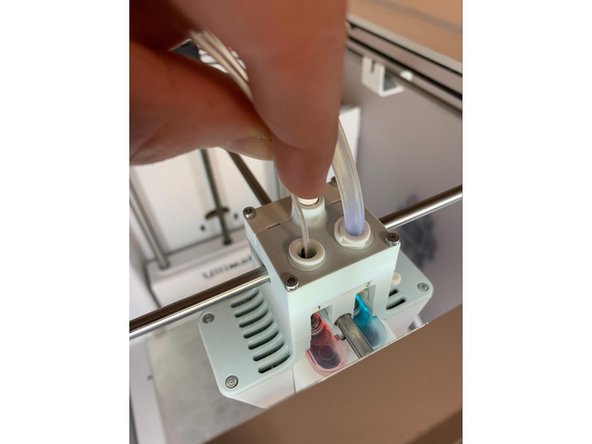
- The small Teflon tube (50cm) is fastened into Palette 2
- Power supply is firmly connected to Palette and the wall outlet
- Filament is untangled and spools are positioned to feed filament easily
-
-
On Palette screen navigate to Next > Other and then select 'Custom'. Then, using the arrows, change the amount to the length to: S3: 102cm S5: 113cm If you don’t see 'Next', select Settings > Preferences > Outgoing Tube Length. Select 'Custom' and then, using the arrows, increase the amount to the length indicated in the chart above.
-
Note: Tube length is printer type specific. The tube lengths in the chart above should be set in Palette when you are using the corresponding UM printer. If you switch your Palette to another printer, ensure that you set the tube length back to the appropriate tube length that you have set up for that printer.
-
-
-
-
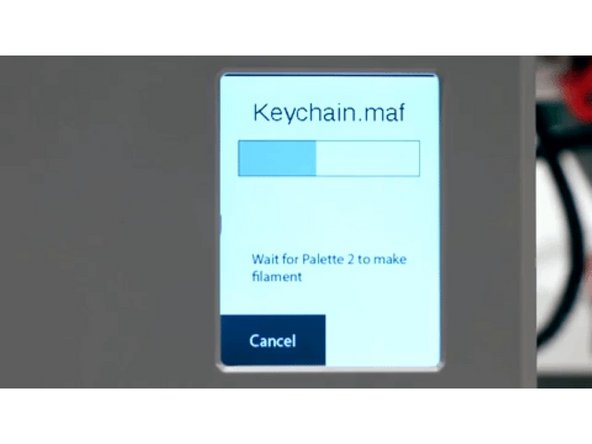
Slice the keychain model in CANVAS. After slicing in CANVAS is complete you will have two files. The first is a SEEM file that will have the extension MAF (Mosaic Accessory File). You'll also receive a modified Gcode file. Transfer the MAF to Palette 2's SD card manually. Transfer the modified Gcode file to your printer.
-
-
-
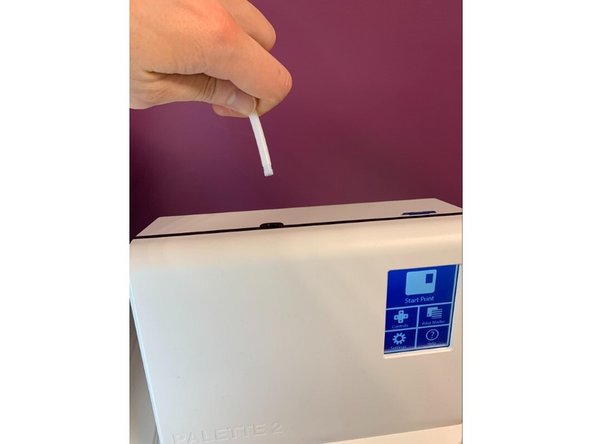
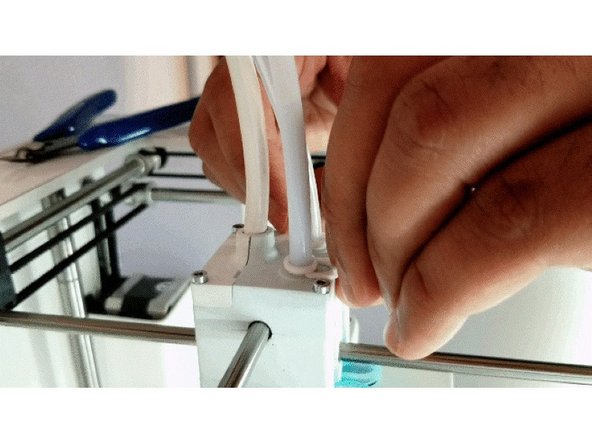
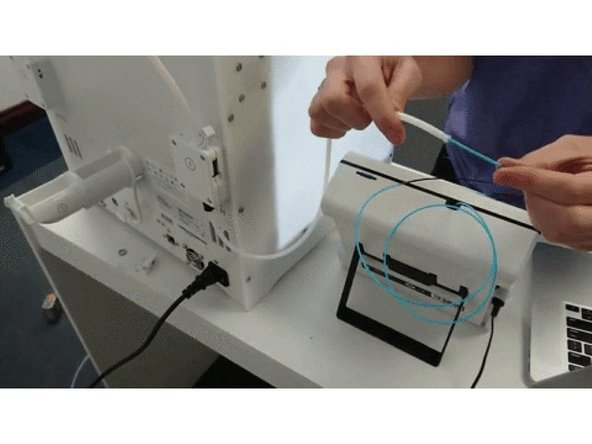
Please disconnect the Palette 2 outgoing tube from Palette 2 by firmly pulling it out, this is a push fit connection so you will need to use a bit of force to remove it. Ensure that there is no filament in the path from this tube to the hotend. If there is, please remove the filament so that the path is clear.
-
-
-
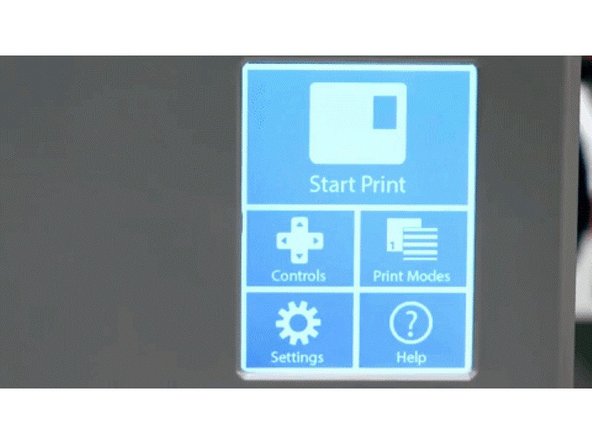
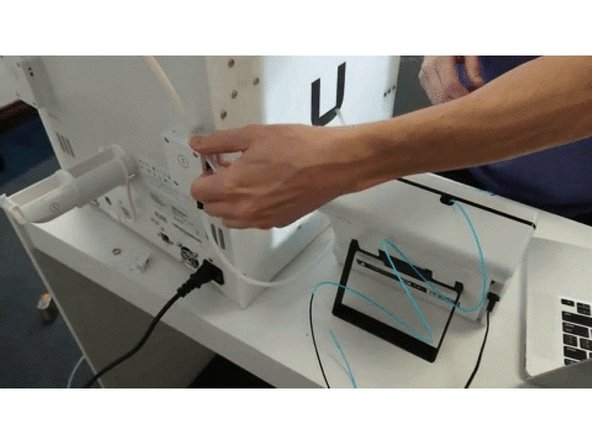
Turn on Palette 2 and select 'Start Print'.
-
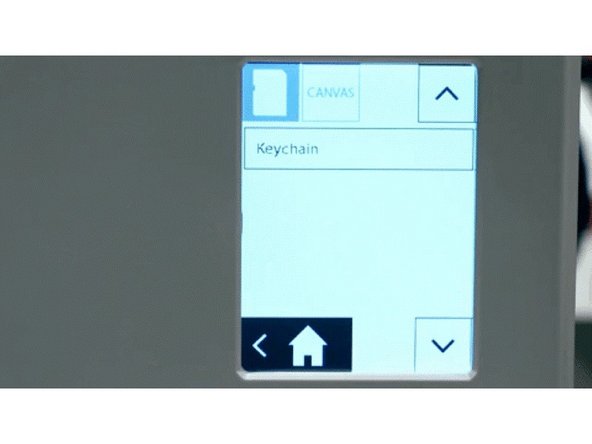
On the top left corner of the screen, you can select to load a file from Palette's SD card (MAF file) or via CANVAS Hub (MCF).
-
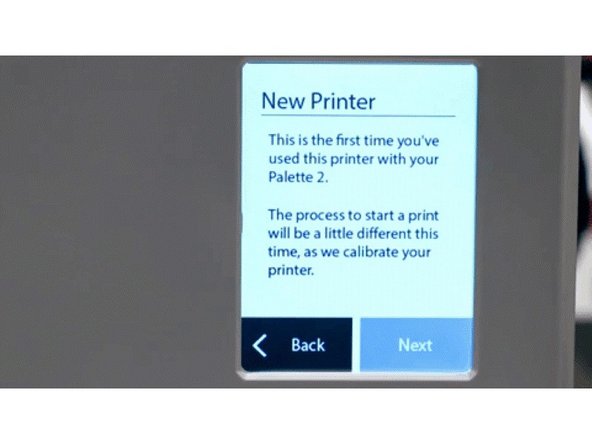
Palette 2 will recognize that this first time you have used it with this printer and will let you know before you start the print. Please go ahead and tap 'Next'.
-
-
-
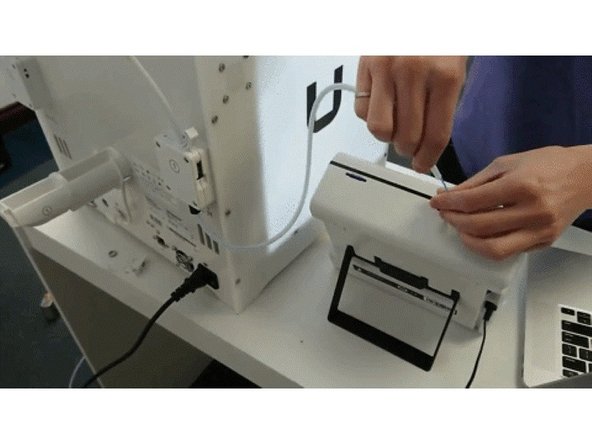
Load filament into the inputs, making sure not to use clear or transparent filament for any inputs as this will be used later in the calibration process. Allow Palette 2 to output filament with the outgoing tube disconnected.
-
-
-
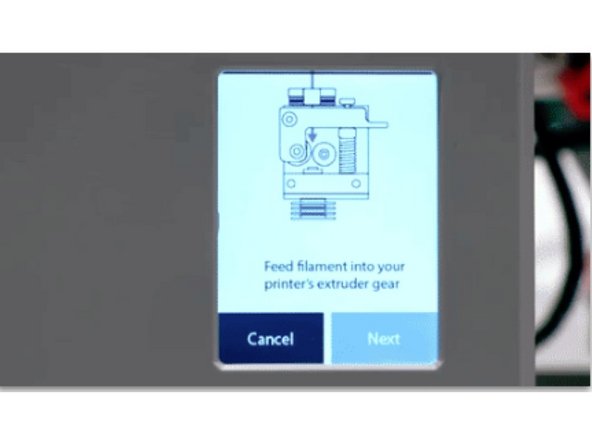
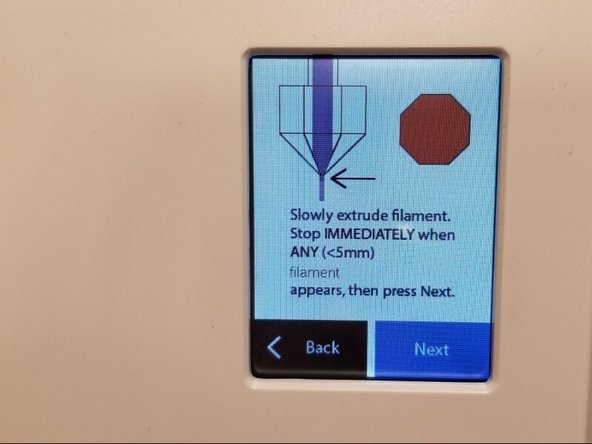
After 2-3 minutes the screen will prompt you to feed filament into your printer's extruder gear. Select 'Next' on the following two screens until you see the screen below that says 'Slowly extrude filament…'.
-
On the Ultimaker screen select Maintenance > Advanced > Heat up Nozzle > Scroll to 210C. Wait until the temperature reaches 210C. Caution: the nozzle will be very hot through the next few steps.
-
-
-
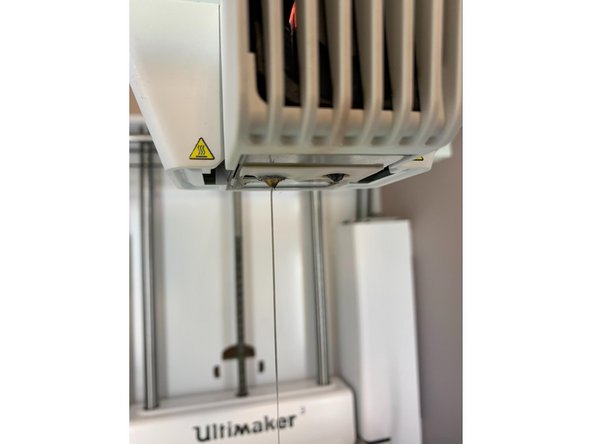
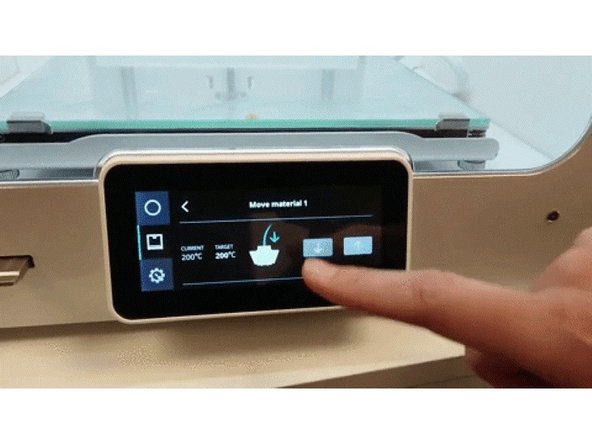
Using the Ultimaker menu, heat up the hotend by selecting Printer icon > No material > 3 Dot Icon > Move. This will heat the print head. Wait 2 minutes for the print core to heat to 200C.
-
Remove the bowden tube from the print head by removing the lock clip.
-
Once the print core indicates it has reached 200C, find 20-30cm of clear PLA. Manually press this down into the print core from the top of the print head until you have purged any remaining material which was in the print head. Pull the filament you just inserted back out before proceeding to the next step.
-
Press the bowden tube back into the print head and replace the lock clip.
-
-
-
Move to the bowden extruder on the back of your Ultimaker and disengage the drive arm to allow filament to pass through.
-
Feed the filament Palette has created into the Palette tube connected to the Ultimaker extruder. You may need to straighten the top of the filament to have it feed through the extruder assembly but please be sure not to break any filament off as this is a precise amount of filament Palette has created to calibrate with your printer.
-
Once all the filament has been pushed through please reconnect the tube to the Palette 2 and reengage the drive arm on your extruder.
-
-
-
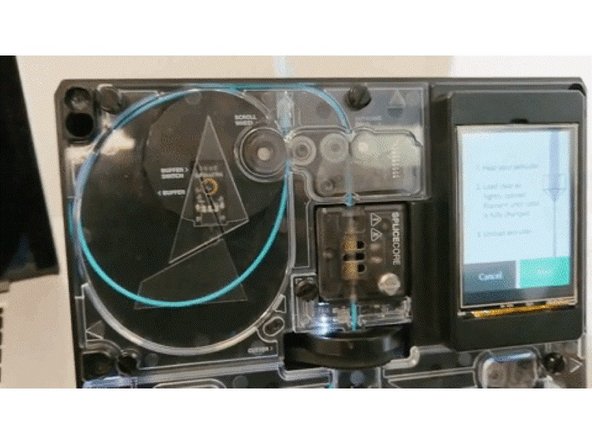
Remove the top lid on your Palette 2 so you can see the buffer area. Holding the move button in bursts of approximately 3 seconds, advance the filament to your hotend.
-
You do not want to have your buffer switch trigger during this step so please shorten the bursts if you find the filament is contacting the buffer switch while performing this step. Stop when you see filament reach your hotend; you should not have any filament extrude from your nozzle.
-
Continue slowly pushing the filament feed button in extremely short intervals until you see the new colour from the filament you are loading appear.
-
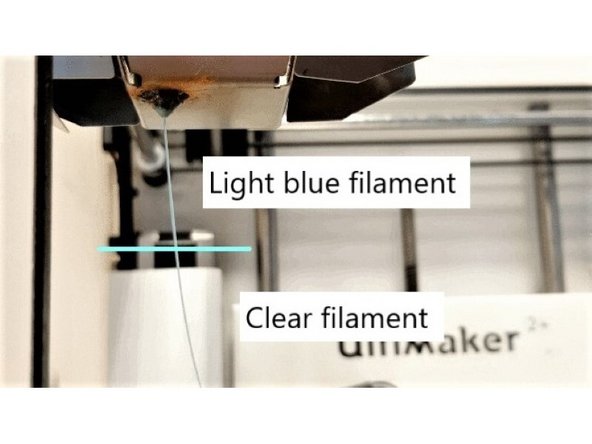
For example, if the filament you are loading is blue and you had purged the nozzle previously with clear filament, stop loading as soon as you see a slight amount of blue filament come through the nozzle.
-
Press Next > Save on the Palette screen to lock in this loading offset value.
-
-
-
Start the print on the Ultimaker screen by navigating to Print > Select the calibration print. If you get the message, 'This print job is not suitable for this printer…', select 'Ignore'.
-