
Introduction
In this guide, you will learn how to:
- Assemble the spoolholder included with Palette 3
- Attach the tube clip guide to the printer's extruder and where to find custom tube clips
- Palette and printer placement
- Recommended tube lengths to select for the printer
Tutorial video coming soon, check back again later!
-
-
Insert two rods into the bases of the spool holder ends, press the ends together firmly.
-
Place filament onto the remaining rods. Lower the rods onto the notches located on top of the spool holder ends.
-
-
-
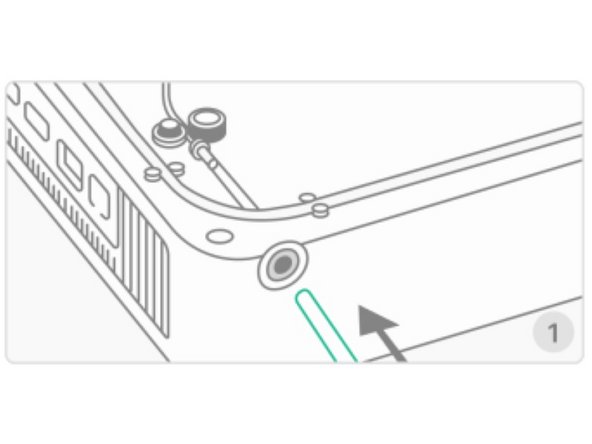
Use the velcro provided and attach one piece to the printer’s extruder, near where the filament is inserted. Attach the other piece to the back of the tube clip provided.
-
For Direct Drive printers, this tube clip will be positioned directly above the printhead or hot end.
-
For Bowden-style Printers, this tube clip will be positioned on the Bowden extruder, before travelling through the Bowden PTFE to reach the hot end.
-
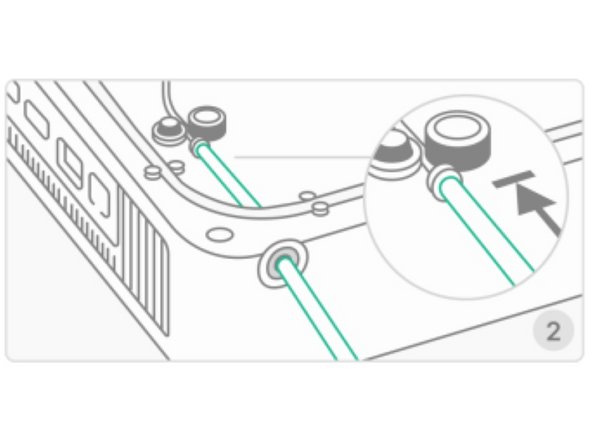
Position the circular section of the clip above where filament is inserted, and press the tube clip into place.
-
You can find custom tube clips here.
-
To remove the tube from the extruder clip, use a finger to hold back the collet to prevent it from gripping the tube, and gently pull on the tube.
-
-
-
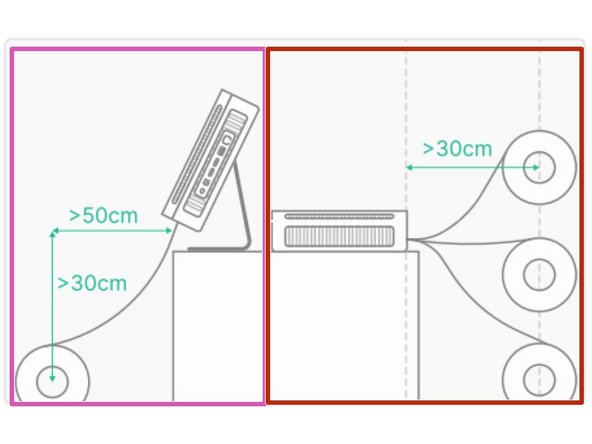
Placement options:
-
Place Palette on its stand: Position the spoolholder directly below Palette.
-
Place Palette flat on the surface: Position the spoolholder on a surface with the same height as Palette.
-
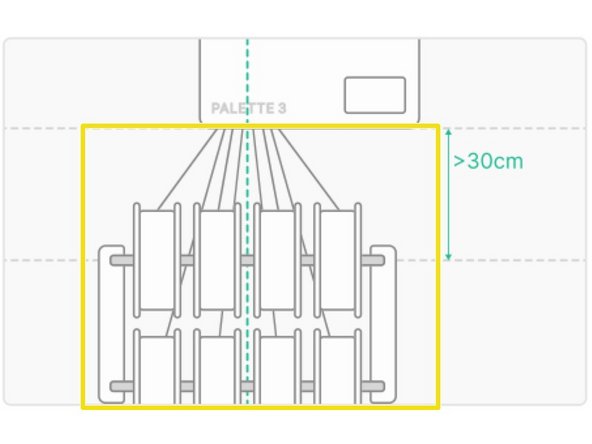
Mount Palette: Align the spoolholder position to the filament inputs on Palette if possible
-
-
-
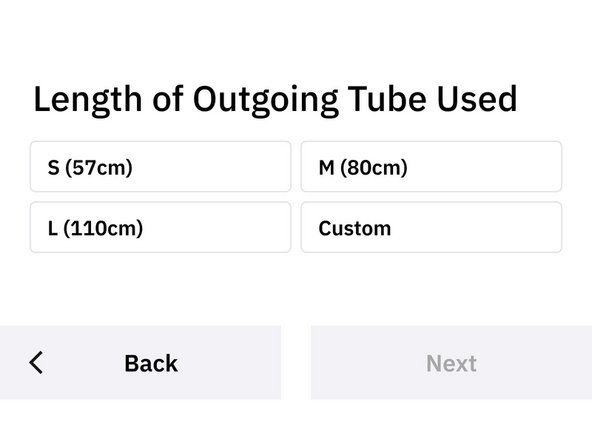
The medium tube is ideal for most Palette and printer setups. The short tube is ideal for printers using a Bowden tube, as we want to reduce the filament path as much as possible in these cases. The long tube can be used if Palette is mounted above the printer.
-
Using a shorter tube when possible can allow for calibration adjustments to appear sooner while printing, due to the lesser distance the filament has to travel.
-
The long tube mainly used for large printers where positioning requires the extra length.
-
If you are using your own tube, please enter the measurement as a custom length.
-
Insert the outgoing tube through the output, and make sure the tube sits flush to the brass coupling.
-
Before printing, please ensure that the tube is pushed all the way down to brass coupling.
-


If you have any additional questions, please send us a message at support@mosaicmfg.com.
If you have any additional questions, please send us a message at support@mosaicmfg.com.
Cancel: I did not complete this guide.
26 other people completed this guide.
