Introduction
Print Head bolts are available as an upgrade to thumbscrews, to provide extra security at the Print Head and prevent looseness. This guide explains how to install the bolts - it's important that the bolts are not over-tightened.
-
-
Power off the printer using the switch at the back
-
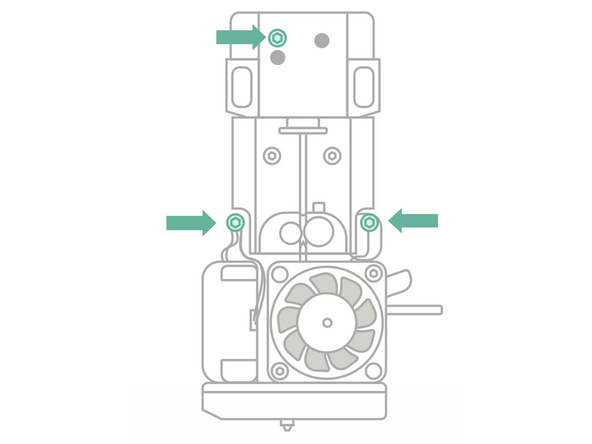
Remove the three thumbscrews holding the Print Head in place
-
-
-
Install the upgraded Print Head bolts
-
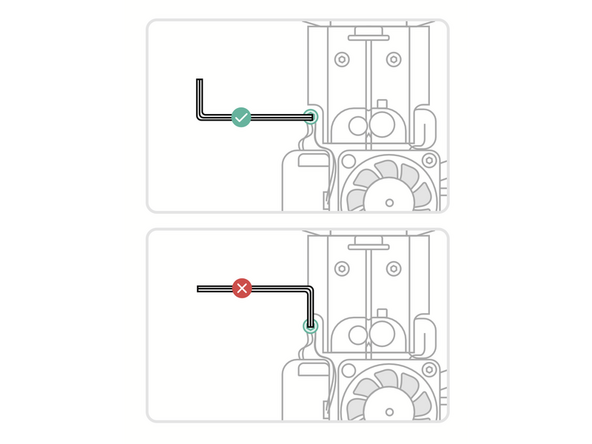
It's important not to over-tighten the bolts. Use the long end of a 2.5mm Hex/Allen key
-
The correct torque spec is 0.3Nm. Tighten the bolts until they are snug, no further
-
-
-
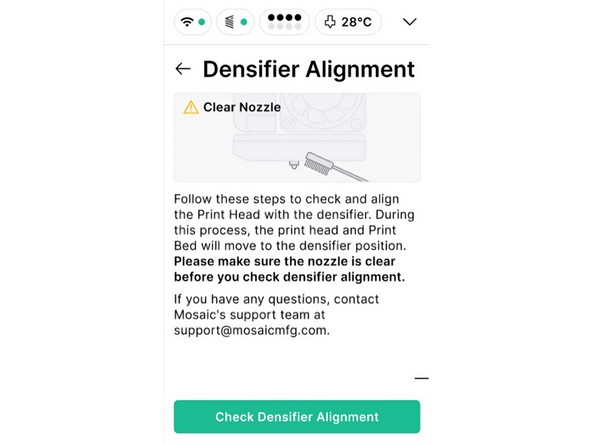
Power the printer back on, and check densifier alignment under Settings > Troubleshooting
-
Afterwards, you will be ready to start printing again. Reach out to support@mosaicmfg.com if you have any questions or concerns
-

Team
