-
-
The idler arm controls how firmly the drive gears squeeze the filament strand inside the printhead.
-
If tension is too loose, the gears will slip and fail to push plastic into the hot nozzle.
-
If tension is too tight, the gears can squash soft flexible filament (Aero) out of round or cause extruder motor clicking.
-
Adjust tension whenever you switch between soft Aero TPU and stiff Align nylon, or if you notice under-extrusion.
-
-
-
Unload any filament that was in the printhead before starting the adjust the Idler Arm. Refer to this guide: Loading and Unloading Filament
-
Power off the printer or navigate to More > Disable Motors on the touchscreen so you can move the printhead freely.
-
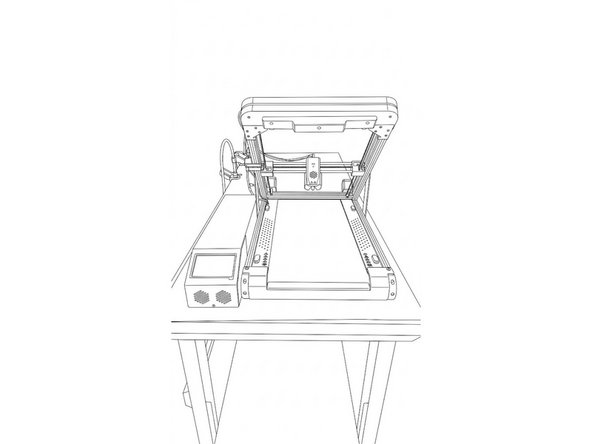
Slide the printhead to the top center of the gantry for easy access.
-
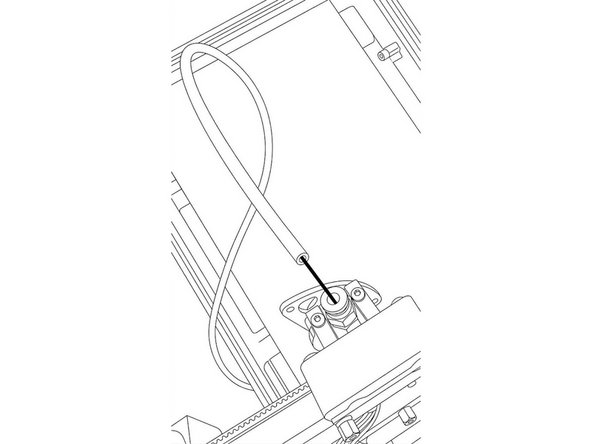
Unplug the PTFE tube from the printhead by holding down the collet and carefully pull the PTFE tube out.
-
-
-
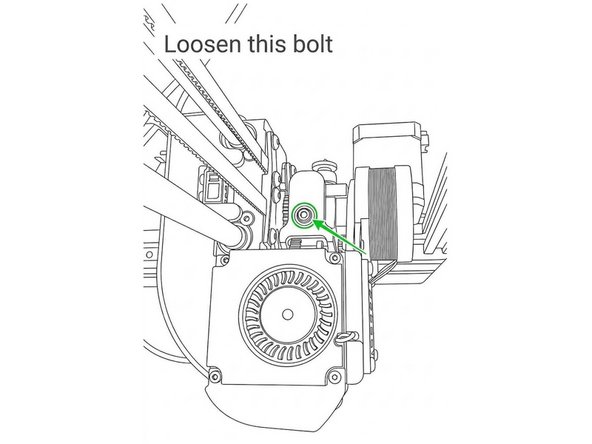
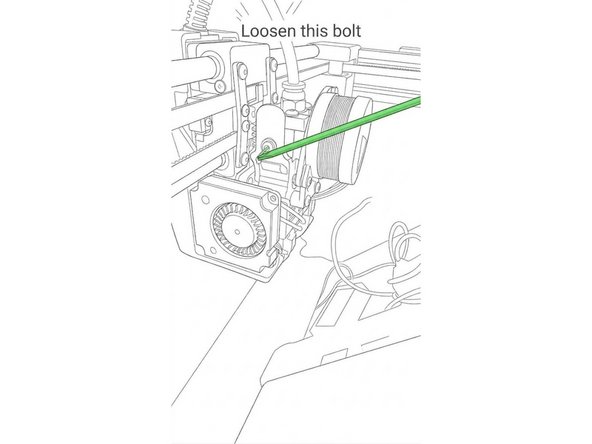
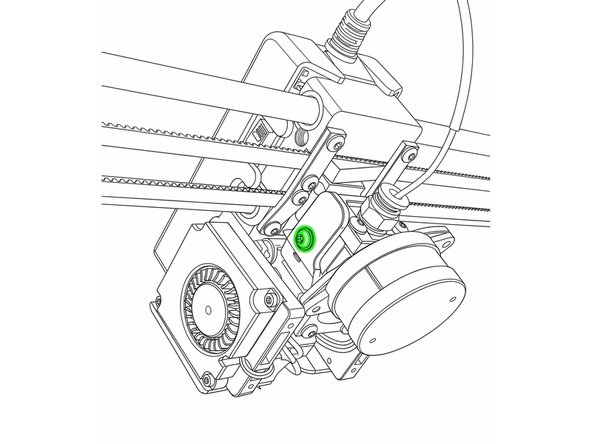
Locate the Idler Arm bolt on the right side of the printhead.
-
Insert your 2.5 mm Allen key into the tension screw.
-
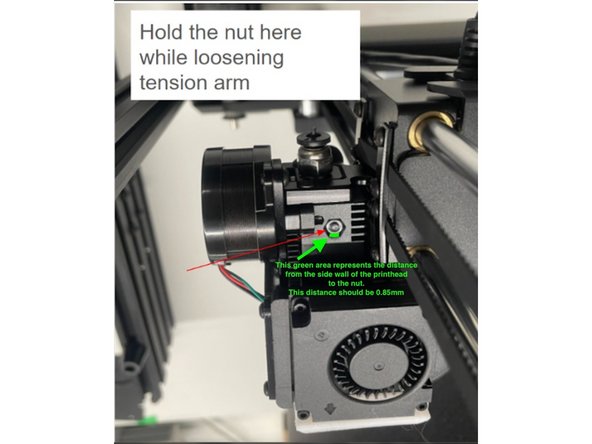
Hold the retaining nut on the left side of printhead firmly with a small wrench or pliers so it does not spin freely or fall out.
-
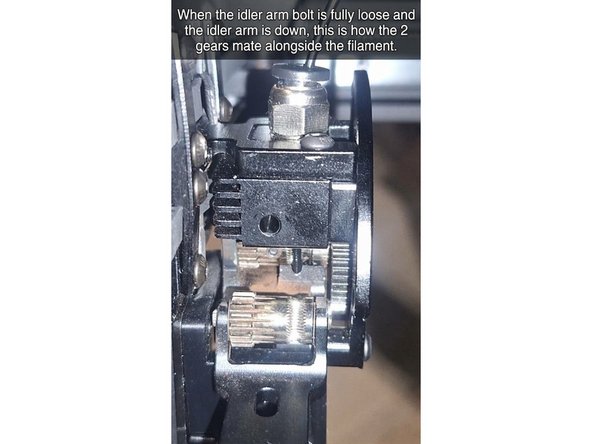
For torque spec on the bolt. Check the left side of the printhead, the nut position is to be 0.85mm lower then the side wall. Show in picture 3. This tension should be good for but Aero and Align materials.
-
Make adjustments in small half-turn increments. Avoid overtightening until the spring is completely flattened.
-
-
-
Preheat the nozzle to the target material temperature (240°C for Aero, 280°C for Align).
-
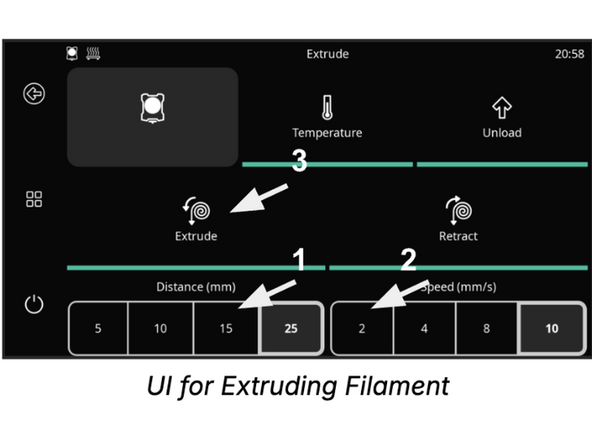
On the touchscreen, open the Extrude menu and set Distance to 15 mm and Speed to 2 mm/s.
-
Tap Extrude while gently holding the filament near the spool to feel if the gears pull the strand with steady, positive traction.
-
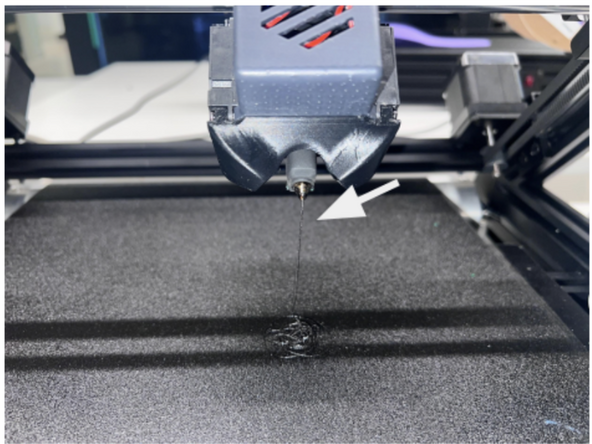
Confirm that molten filament flows smoothly and consistently from the nozzle without motor skipping or gear grinding.
-