-
-
Follow the regular Unloading Filament instructions to try to remove filament from the Printhead.
-
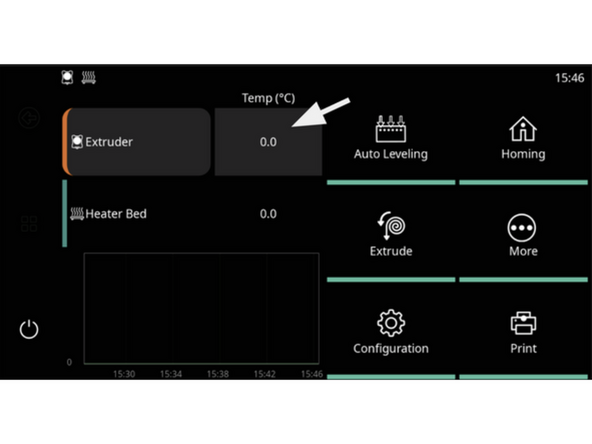
On the touchscreen, preheat the nozzle based on your loaded material (240°C for Aero, 280°C for Align).
-
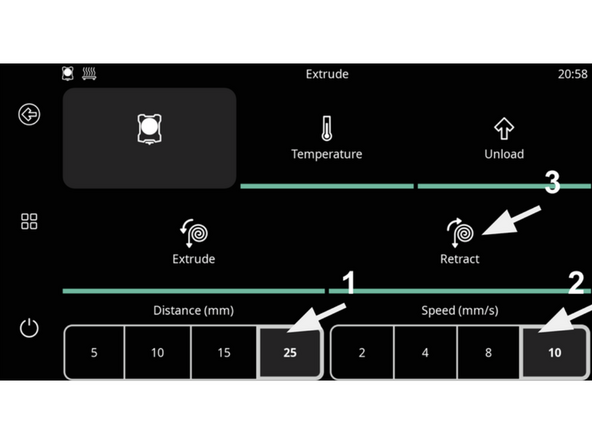
Go to the Extrude screen, set Distance to 25 mm and Speed to 10 mm/s.
-
Tap 'Retract' while applying gentle upward pulling pressure on the filament strand.
-
If the jam pulls out completely, snip the damaged end at 45°, reload, and purge fresh material.
-
-
-
If filament cannot be retracted, turn off nozzle heating and allow the printhead to cool down.
-
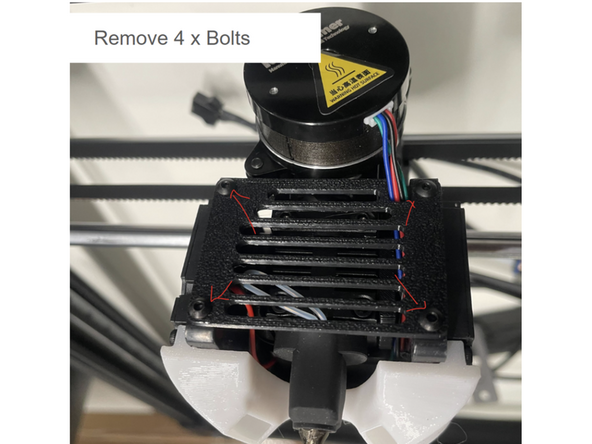
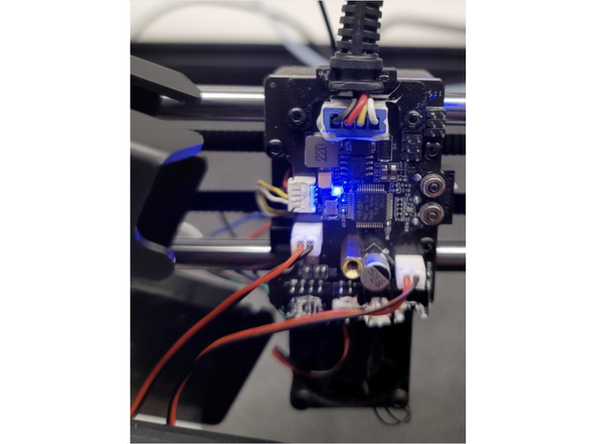
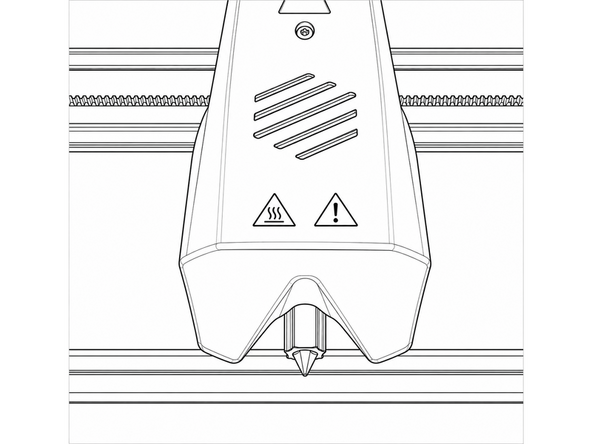
Remove the 4 bolts holding the top ventilation cover on the printhead.
-
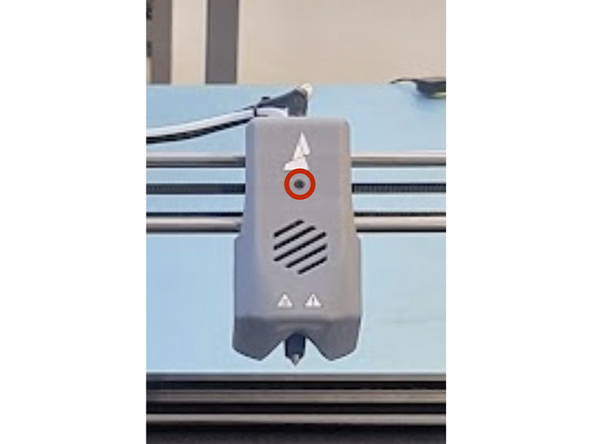
Remove the center screw on the front shroud cover and carefully detach the cover.
-
-
-
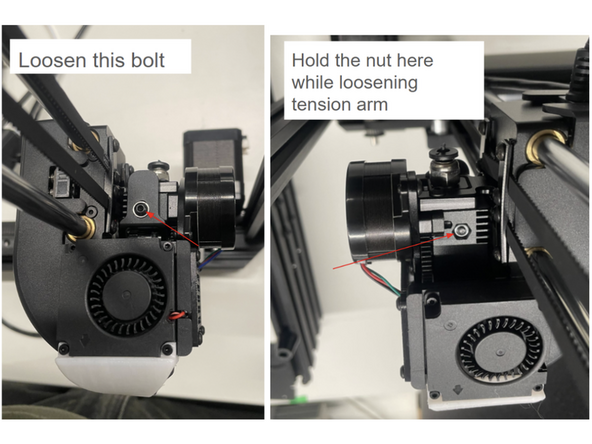
Loosen the tension bolt on the idler arm (holding the backing nut in place).
-
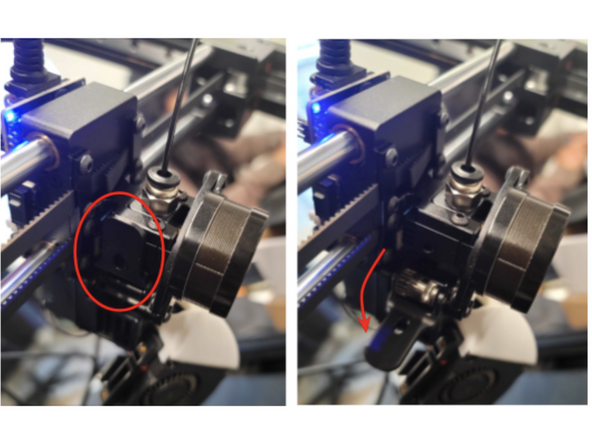
Open the idler arm to reveal the drive gear mechanism
-
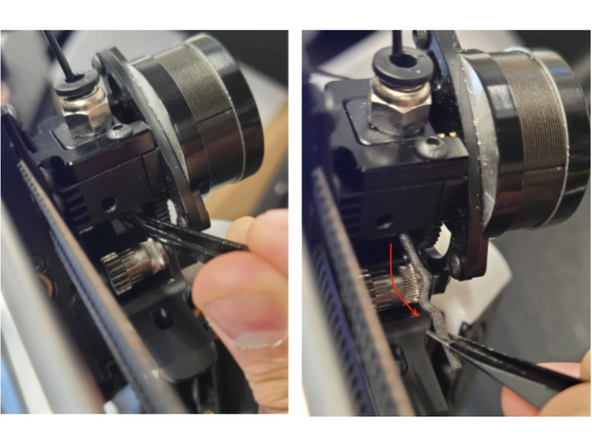
Clear any stuck filament fragments from the gear teeth using tweezers.
-
-
-
Re-tighten the idler arm bolt and reattach the front shroud and top cover.
-
Preheat to operating temperature (240°C for Aero, 290°C for Align) and extrude 15 mm of filament.
-
Clean the nozzle tip with a wire brush and verify smooth, vertical plastic flow.
-
If jams consistently recur, contact Mosaic Support at support@mosaicmfg.com for assistance.
-