Introduction
Filament obstructions at any point in the filament pathway can cause time out and filament feeding errors. This guide shows how to inspect for and clear any obstructions in the filament pathway.
For assistance with any of the steps in this article, please contact your Account Manager or support@mosaicmfg.com.
-
-
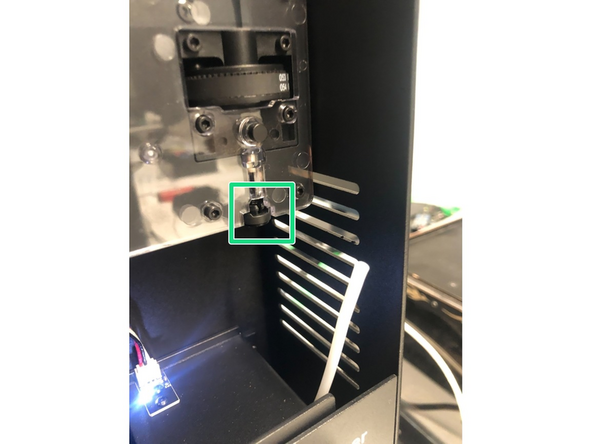
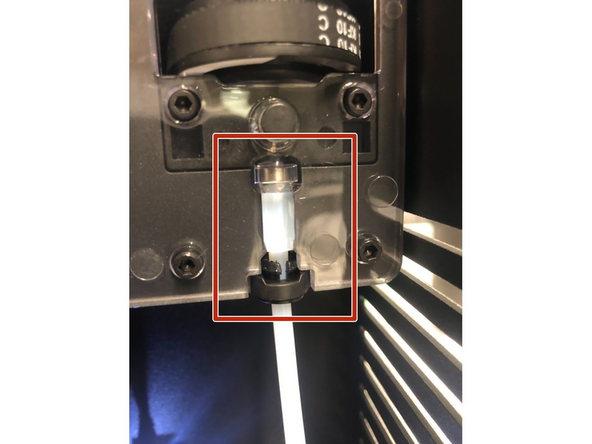
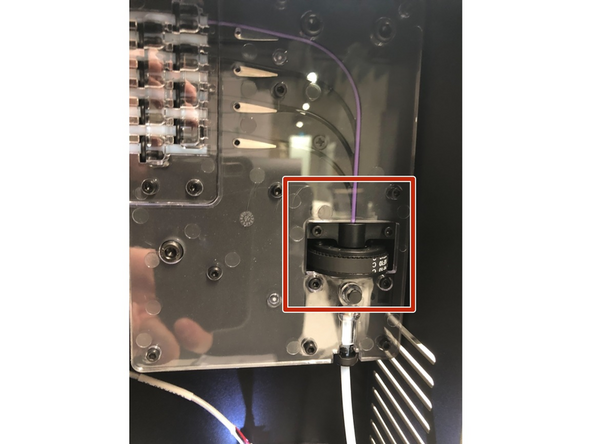
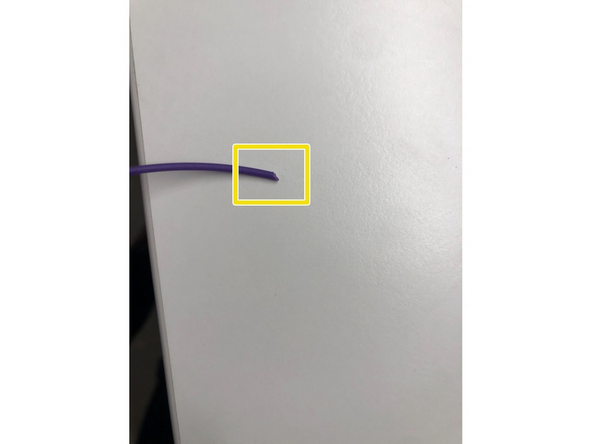
The entire filament pathway of Element comprises the Material Pods and Receiver tubes, Palette X, the Microbuffer, and the Print Head
-
This is the same for an Element in Array, but the arrangement and distances are different
-
If there is an obstruction in the filament pathway causing time out/filament feed errors at the start of prints, you'll need to inspect the pathway and clear the obstruction
-
-
-
Take off the Print Head cover, and inspect the Print Head and PTFE tube leading to the Print Head
-
If there is filament still here, clear it using Element's screen, under Controls > More > Clear Filament Path
-
If filament cannot be cleared using the Controls, it can be cleared manually: heat the nozzle, then disconnect the tube from the Print Head using the quarter-turn mechanism at the top. You should be able to pull the filament out of the Print Head
-
Once the filament is cleared, powercycle, remove and reinstall all Material Pods before printing again
-
-
-
If there is no filament at the Print Head, we need to inspect the rest of the filament pathway. Remove any Material Pods in use
-
Remove the cover from Palette X using the thumbscrews
-
Manually feed filament through the Material Pod slots
-
Inspect Palette X to see if the filament reaches the Palette X area
-
If filament does not reach Palette X, this likely indicates that the receiver tube leading from the Material Pod to Palette X has come loose. Contact your Account Manager, or support@mosaicmfg.com, for assistance
-
-
-
Next, inspect for obstructions in Palette X. Take off the Palette X cover using the thumbscrews, and inspect for any filament caught in any of the channels using a flashlight
-
The merger flags should all be in the down position; if any are in the up position, this indicates that filament is caught below
-
If you don't see any filament, manually push filament through all the Material Pod slots and feel for resistance. If filament gets caught at the cutter, proceed to Step 6 below
-
If there is filament caught in Palette X, you can disconnect the outgoing tube (push up on the collet while pulling the tube down) and then use filament to push the piece of filament out. Reconnect the outgoing tube afterwards
-
-
-
If there is no obstruction or resistance anywhere in Palette X, make sure that the outgoing tube is fully inserted and seated properly
-
Disconnect the outgoing tube (push up on the collet while pulling the tube down) and then reinsert
-
-
-
If you can't push filament through the cutter, it's likely not homed properly
-
Perform a cut operation under Controls > More > Cut Filament, then try pushing filament through again
-
You can try snipping the end of the filament at a 45 degree angle to help it pass through the cutter
-
If you're still unable to push filament through the cutter, please record a video of the cutter from below when doing a cut operation, so the white stripe is visible. Share this with your Account Manager or support@mosaicmfg.com. At the end of the cut operation, half of the white stripe should be visible from below
-
-
-
If filament is able to move through Palette X, but does not reach the Print Head or PTFE tube, this indicates that it's getting caught in the Microbuffer, behind the back panel
-
Measure how much filament you can push through from a Material Pod slot until you feel resistance. We can use this measurement to confirm that it's in the Microbuffer
-
Please share this information with your Account Manager or support@mosaicmfg.com, so we can help you clear this
-
If you have any additional questions, please send us a message at support@mosaicmfg.com.
If you have any additional questions, please send us a message at support@mosaicmfg.com.
Cancel: I did not complete this guide.
4 other people completed this guide.


