
Introduction
The Create Regions tool can be used to create areas of your model that can be filled in with the paint tool. You may need to use the sphere or vector tool for finer details afterwards.
-
-
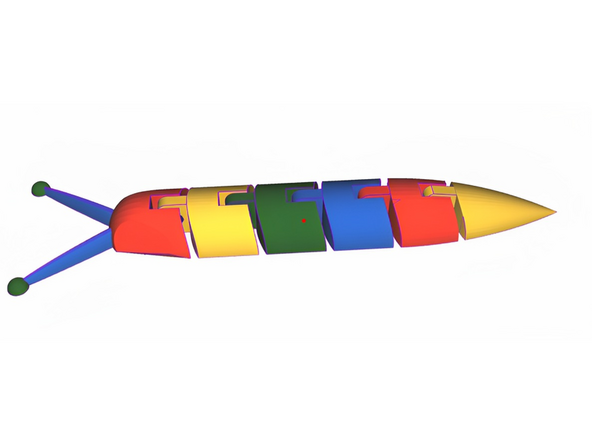
Select your model in the Objects Toolbox, and then click the paint brush icon to open the Paint visualizer
-
-
-
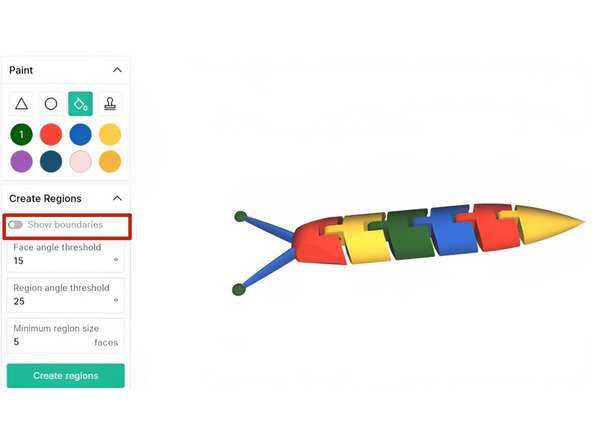
In the Paint toolbox, select the Fill tool, then open the Create Regions toolbox
-
You can experiment with the face and region angle thresholds, and the minimum region size, to create more or fewer regions on the model
-
Click 'Create regions'
-
-
-
Regions on the model will be outlined in blue. Use the Fill tool to colour regions in
-
When you're done, click 'Save and return' in the bottom right
-
You may need to use the Sphere or Facet tools to fill in finer details
-
In the Create Regions toolbox, toggle 'Show boundaries' on or off to keep or remove hard boundaries along the region edges - when on, you can use the Sphere or Facet tool to paint right up to the boundary without going over
-


Cancel: I did not complete this guide.
One other person completed this guide.

Team
