Introduction
The cooling module improves cooling performance and print quality with low temperature materials such as PLA and PETG.
If you have the heater module installed, you will need to remove it before installing the cooling module. Only one of the heating and cooling modules can be installed at a time.
-
-
Ensure the Print Head and Chamber are cool before beginning
-
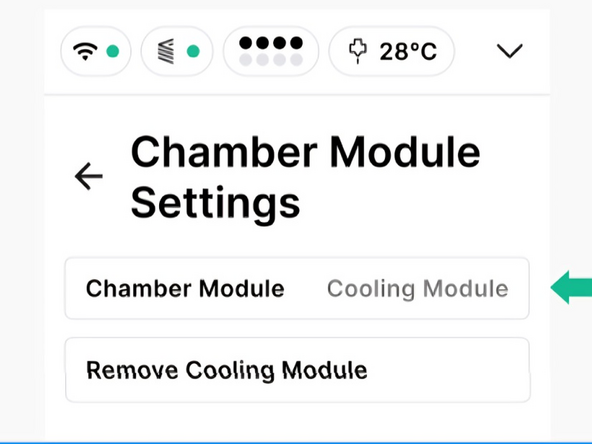
Start the install workflow under Controls > Configurations > Chamber Module Settings
-
-
-
Lower the bed to the bottom of Element
-
Don't put weight or lean on the bed assembly
-
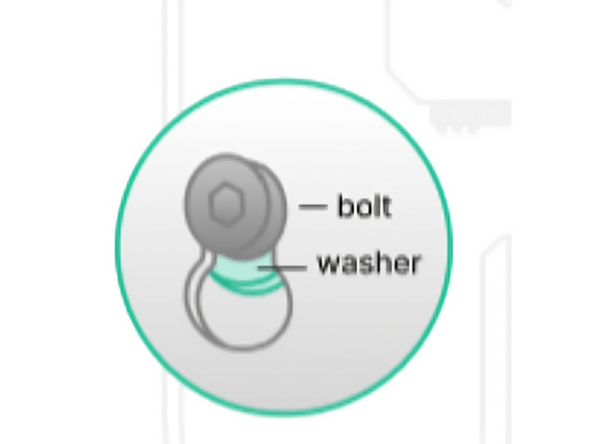
Loosen (but do not fully remove) the 4 bolts at the back of the chamber, using a 2.5mm Allan/Hex tool. Ensure the washers remain in place
-
-
-
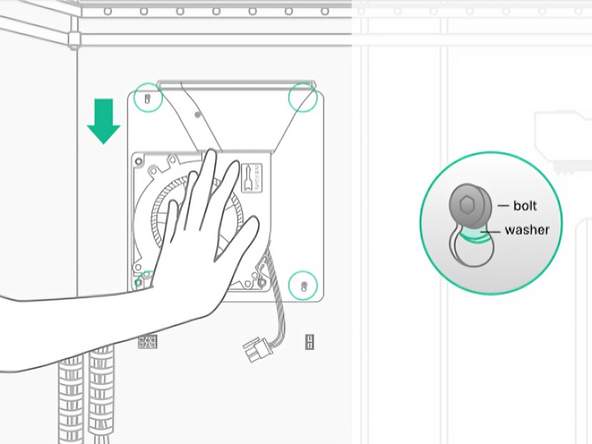
Position the Cooling Module's slots over the 4 bolts, and slide down to secure in place
-
Ensure that the washers are positioned between the Cooling Module sheet metal and the metal standoff on Element, like the close up graphic
-
If the Cooling Module is difficult to install, and cannot slide into place, ensure the screws are loose enough
-
-
-
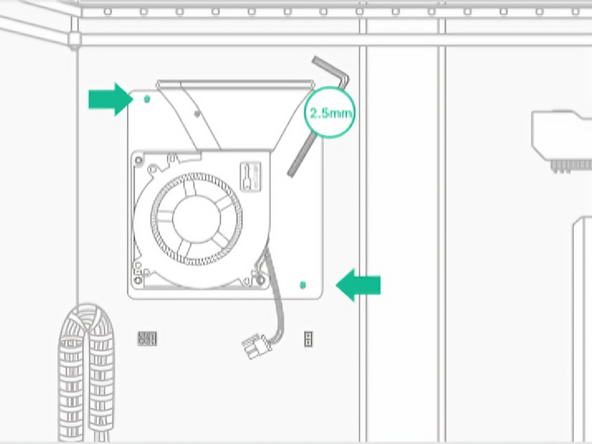
Tighten the 2 bolts identified in the image. The other 2 bolts will only need to be partially tightened to ensure the screws do not fall out.
-
Avoid over-tightening the two bolts indicated
-
-
-
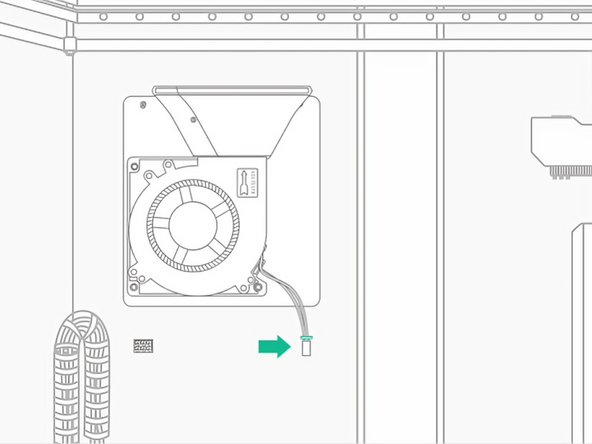
Plug the cable with the connector into the terminal on the right hand side. The connector will click when properly installed
-
The clip on the end of the cable will face upwards
-
-
-
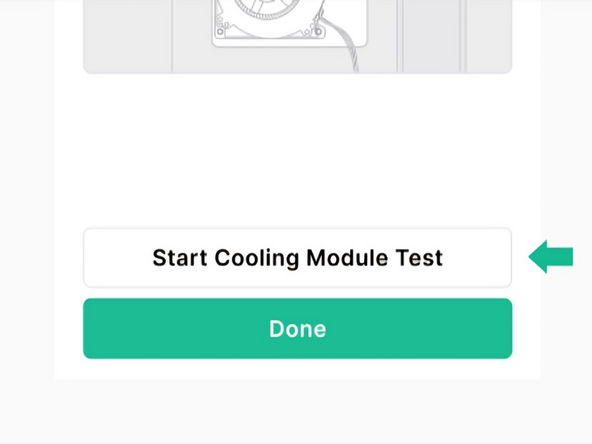
To test that the Cooling Module is properly installed, please click Start Cooling Module Test at the end of the on-screen installation workflow
-
Under Configurations > Chamber Module Settings, make sure the Cooling Module is shown
-
Cancel: I did not complete this guide.
One other person completed this guide.


