-
-
Continue below for detailed steps
-
-
-
Power off Element using the power switch at the back. Remove any Material Pods
-
Using a 2mm Hex/Allan tool, remove the 22 screws on the right side panel
-
Take care not to strip any of the screws when removing them. Unscrew gently and slowly
-
-
-
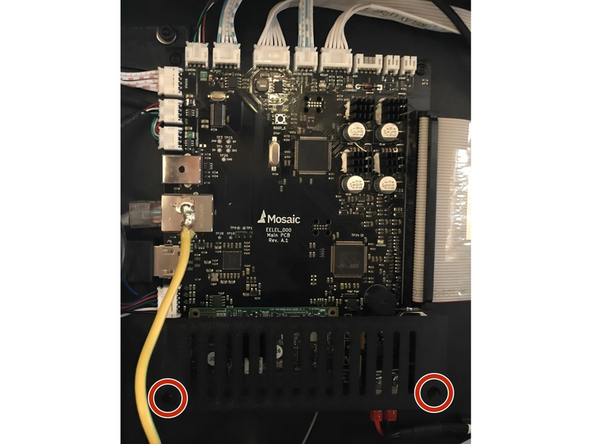
Use a 2mm Hex/Allan tool to remove the two screws holding the shroud to the mainboard
-
-
-
Remove the zip tie securing the fan cables
-
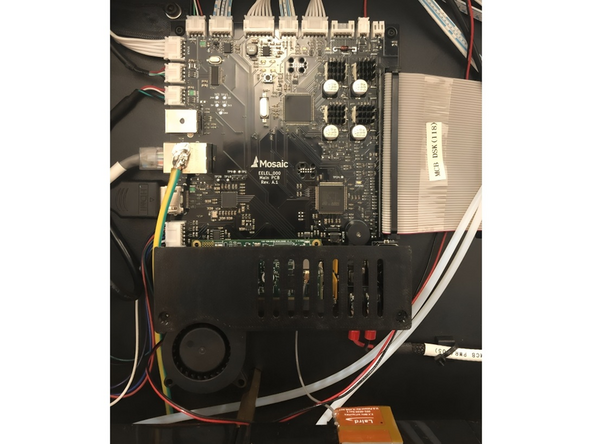
Gently screw the new CPU cooling shroud onto the mainboard
-
Take care in particular when screwing in the left hand side of the shroud - be careful not to damage the components above the hole
-
-
-
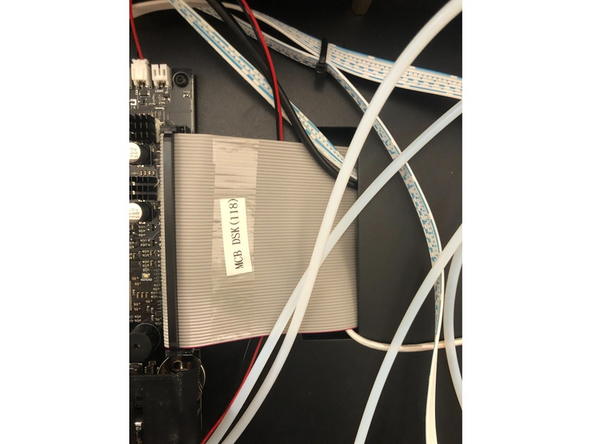
Feed the cables behind the large grey ribbon cable
-
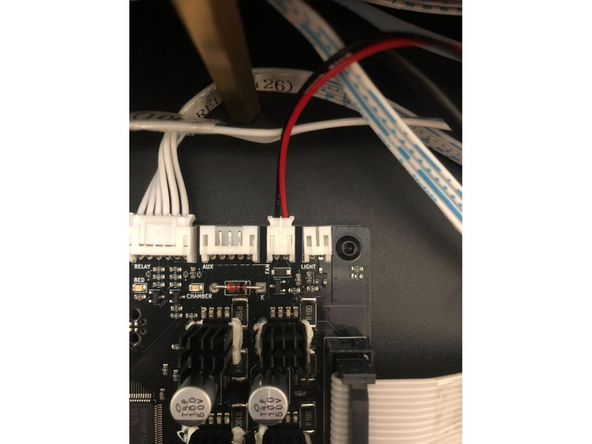
Connect to the indicated port on the mainboard, second from the right, marked 'FAN' in small lettering underneath
-
-
-
Reinstall the side panel before turning the printer back on
-
The CPU cooling fan will automatically turn on whenever the printer is in use
-
Cancel: I did not complete this guide.
2 other people completed this guide.


