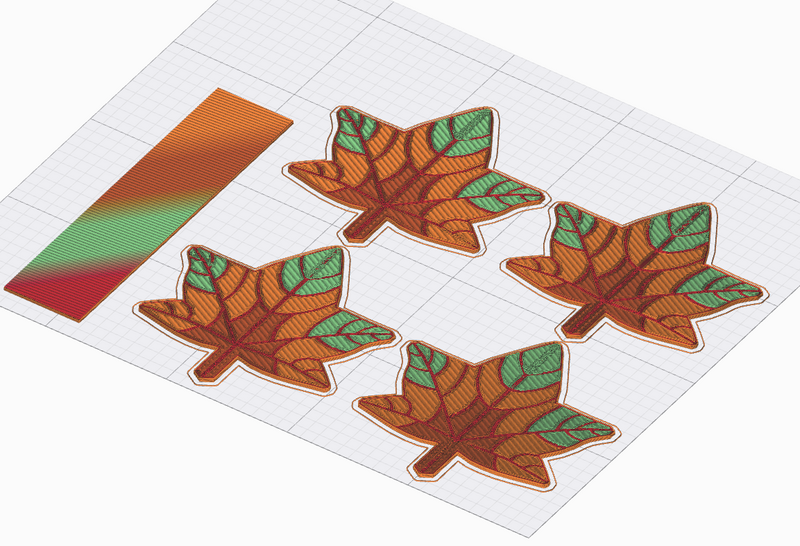
Color bleed on multi-color 3D prints occurs when not enough filament was purged between one color to the next, or can also occur if the timing of the transition is slightly off.
When printing with Palette, a transition tower is used so the nozzle has a place to deposit filament between color changes. When the first color on a splice is almost done printing its colored sections on the layer, the nozzle will move to the tower to purge filament. By the time it is done purging, the nozzle should be primed with the next color before returning to the part.

Below you can find different methods to help address color bleed.
Extrusion Calibration
After completing extruder calibration to improve e-steps on the printer, it's also beneficial to determine the ideal flow rate or extrusion multiplier.
Cleaning the Nozzle
A dirty or clogged nozzle can also result in color bleed. Taking some time to clean the nozzle can improve extrusion by making it more consistent, which is necessary for color transitioning.
Increasing the Transition Length and Using Variable Transitions
The transition length setting helps determine how much filament is purged on the tower before returning to the part. A higher transition length can create cleaner colors.

Variable transition lengths can also be used so that higher transition lengths are only used for stronger colors that require more purging (e.g. black, red, dark blue), while lighter colors can use a minimum transition to help reduce waste (e.g. white, yellow).
A transition length of 150-180mm or more can help with darker colors, while lighter colors can use shorter lengths of less than 110mm.
Adjusting the Transition Target
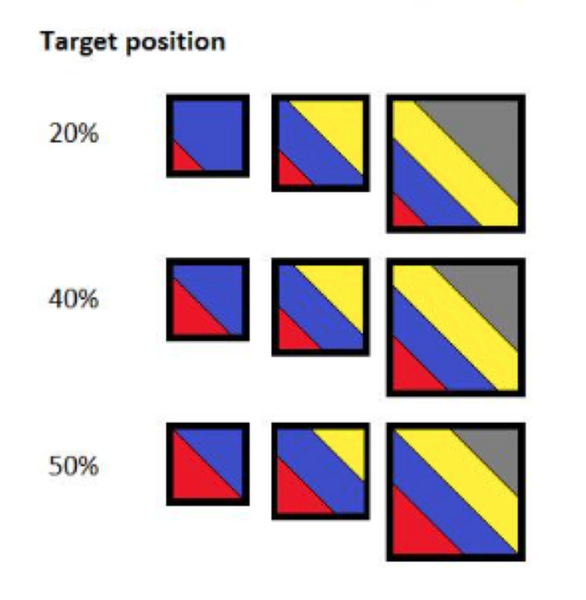
The transition target determines how far into the transition length the splice should occur.
If transitions appear too early, slightly increasing the transition target can help. Similarly, if transitions appear too late, slightly reducing the transition target should improve the timing of the transition. Try adjusting this percentage by 5-10% at a time.

