
Introduction
With Palette 2's improved hardware, the scroll wheel (encoder) is located within the casing. The encoder is important to help calculate the amount of filament fed through Palette 2 and to maintain calibration throughout a print.
Tools
Parts
Video Overview
-
-
Remove the acrylic buffer cover.
-
Use a flat-head screwdriver or tweezers to remove the old scroll wheel rubber. The slot on the left of the scroll wheel can be used for more leverage to lift the rubber away.
-
To put the new scroll wheel rubber in place, stretch the rubber around the edge of the central plastic hub. Press down with your finger along the hub to bring the rest of the rubber down back into place.
-
-
-
Turn Palette 2 off and remove the top lid by gently lifting from the sides.
-
Remove the acrylic ingoing cover by loosening the five thumbscrews counterclockwise.
-
Remove the 4 screws holding the bottom casing to the substructure. Two are located at the top two corners of Palette 2 while the other two are under the ingoing cover.
-
Once the screws are removed, grip Palette 2 together by the substructure and bottom casing together and flip so that the screen is facing dow
-
Please remove the SD card before completing this step as damage may be caused to your unit if left in. The substructure is connected to the bottom casing by a bundle of wires. Slowly and carefully lift the casing from the bottom up while ensuring that the wire bundle is not pulled abruptly.
-
To fully detach the bottom casing, unplug the cluster of wires labeled "Main PCB" from the electronics tray, leaving only the substructure.
-
-
-
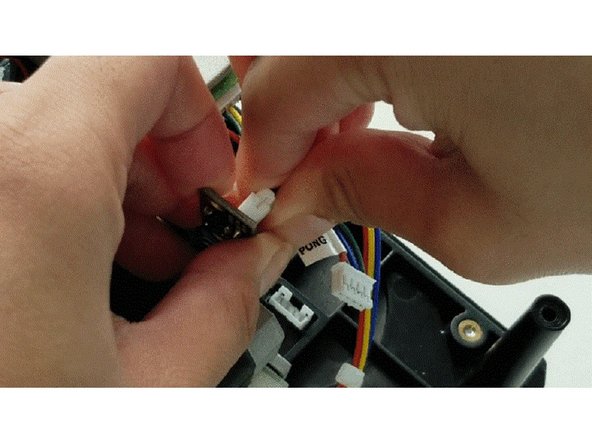
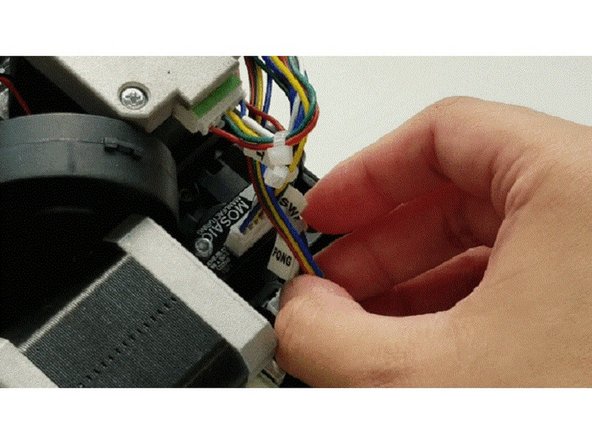
Remove the 2 screws holding the encoder and detach the scroll wheel ("SW") and "Pong" wire bundle.
-
Replace with new encoder and reattach wiring and bolts.
-


If you have any additional questions, please send us a message at support@mosaicmfg.com.
If you have any additional questions, please send us a message at support@mosaicmfg.com.
Cancel: I did not complete this guide.
2 other people completed this guide.
