-
-
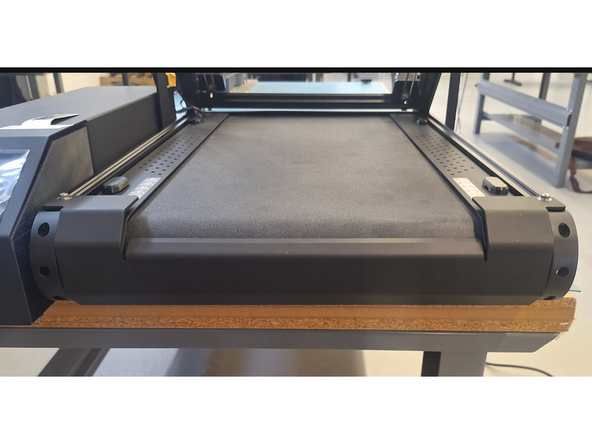
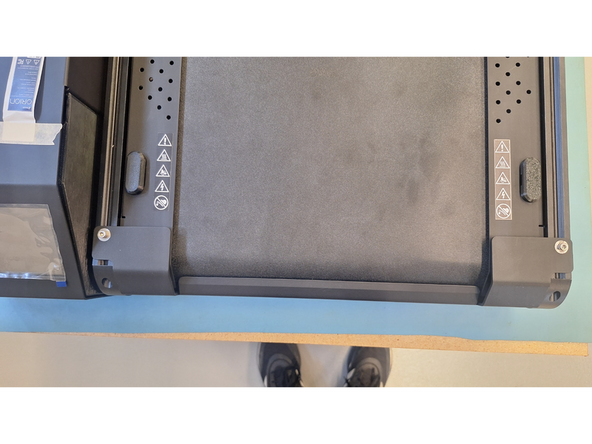
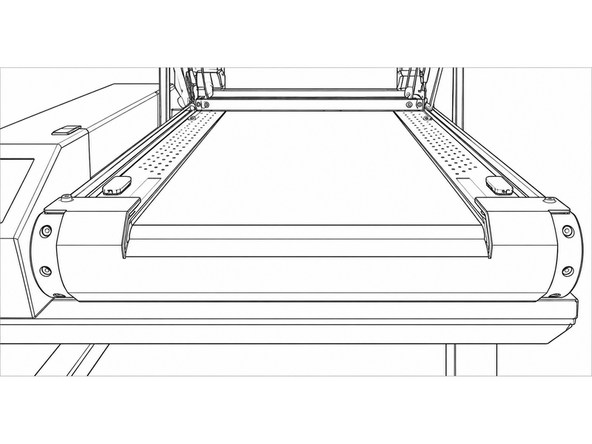
The part ejector sits at the front roller to gently peel finished insoles off the conveyor belt as it rolls forward.
-
Proper alignment requires a tiny gap—about 0.2 mm, or the thickness of standard cardstock—between the blade edge and the textured belt surface.
-
If the blade touches the belt directly, it can scratch the print surface; if the gap is too large, parts may slide under the blade instead of releasing.
-
-
-
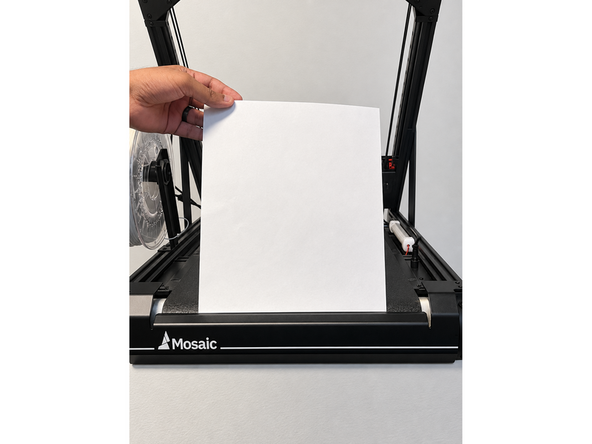
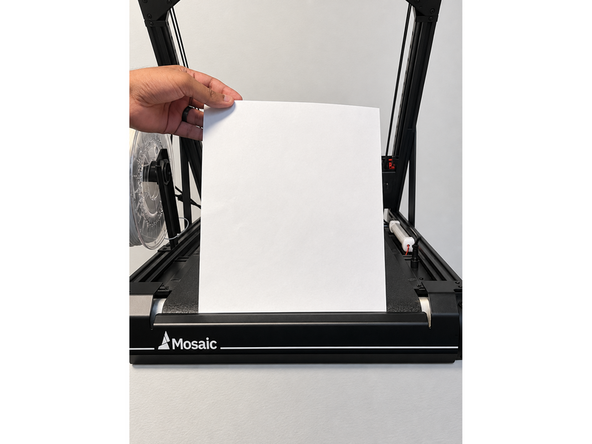
Take a clean strip of cardstock paper (roughly 0.2 mm thick) and slide it flat between the plastic ejector blade and the belt.
-
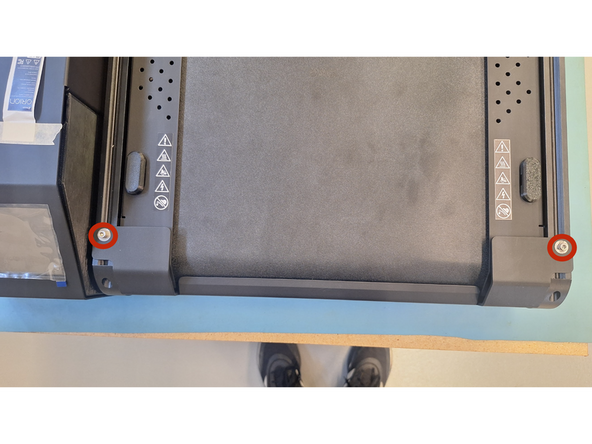
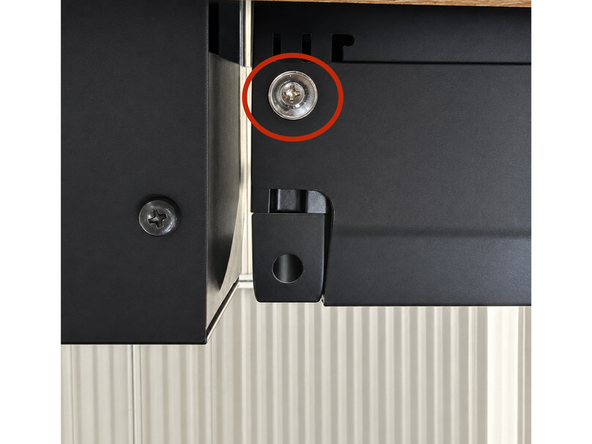
Locate the two silver bolts on the blade mount bracket holding it to the front aluminum beam, and the two silver bolts underneath the bracket.
-
To access the bolts underneath, it can be helpful to slide the printer forward, so the front few inches are hanging over the end of your table.
-
Use your 2.5 mm Allen key to loosen all bolts by one to two turns so the blade mount slides freely. Do not fully remove the bolts.
-
-
-
Gently press the plastic blade assembly until the entire bottom edge rests evenly against the cardstock.
-
Check that the blade mount is resting flush against the lower aluminum frame tabs on both left and right sides.
-
Make sure you apply even downward pressure across the whole bar so one side is not tilted closer than the other.
-
-
-
Hold the blade in place and tighten both button head screws until snug.
-
Slide the cardstock out; you should feel slight drag, but the paper should pull free cleanly without tearing.
-
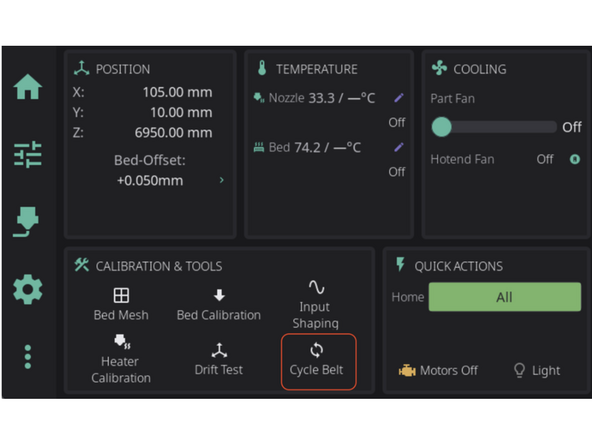
Run a test belt cycle by navigating to Calibration & Tools > Cycle Belt on screen. If the blade leaves any faint scraping marks on the belt, slightly raise the blade and re-tighten.
-