Introduction
Why Calibrate and How it Works
Palette (2, 2 Pro, 2S Pro) automatically calibrates during your first print. Palette needs to produce the exact required length for each filament so that splices reach your nozzle at the correct time. However, 3D printers aren't perfectly accurate. Your print file may contain 10 m of filament extrusion instructions, but your printer might only use 9.7 m of filament. These small errors add up over a print, slowly throwing off the alignment of splices.
Calibration gives Palette a baseline for the amount of error in your printer's filament consumption so that filament production is adjusted accordingly. This is especially crucial at the start of a print, before Palette's live feedback systems kick in.
Before attaching Palette to a printer, we suggest running an extruder calibration as this will ensure that your printer is extruding at a constant and predictable rate, helping to keep a consistent overall calibration. If this is the first time that Palette is used with your printer, the first print will act as a calibration print, and the following steps should be taken before initiating the calibration process.
-
-
Please make sure your extruder is calibrated your bed is levelled before adding Palette. Please also make sure the filament you are working with isn’t too brittle, as this can lead to breakages within Palette during your print.
-
-
-
Test your slicer settings by printing a single colour model without Palette. If you have a Bowden setup, you can use this opportunity to print a Palette tube clip. If you'd like to use CANVAS for your test print, please check out the video tutorial. It's important to find the right settings for high print quality before adding Palette to your setup.
-
-
-
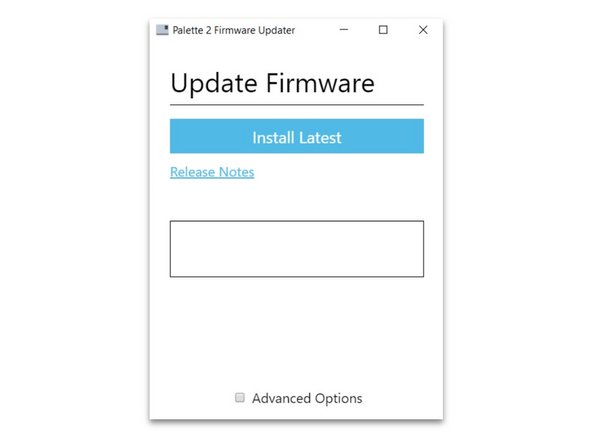
Always ensure that you're using the most recent version of our firmware to ensure that you're using the most up-to-date features and improvements.
-
-
-
When you turn on Palette for the first time it will guide you through the initial setup. Make sure that the following have been completed:
-
Palette is positioned close to your printer.
-
Palette is secure on its stand, mount, or a stable base/foundation.
-
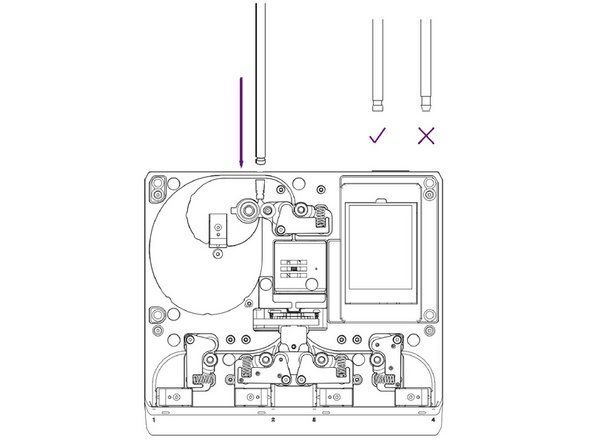
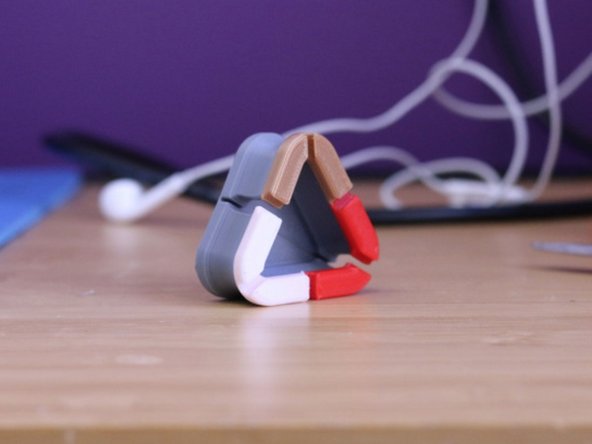
Teflon tube is fastened into Palette 2 and the Teflon tube clip and can move freely around print area without causing any sharp bends in the filament path. You may also use a printable custom tube clip.
-
Power supply is firmly connected to Palette and the wall outlet.
-
Filament is untangled and spools are positioned to feed filament easily.
-
-
-
-
To prolong Splice Tube life, it would be best to turn on Endurance Mode on Palette's screen.
-
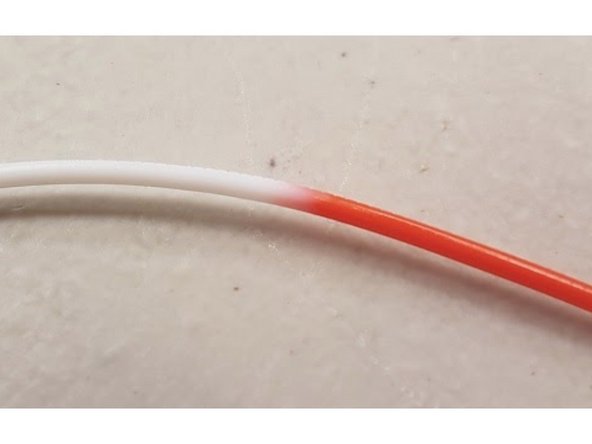
If you're working with PLA, most likely the default settings of (0,0,0 - Heat, Compression, Cooling) will be sufficient for a good splice. However, materials can differ significantly between brands, so we suggest running a splice tuning test just in case, even for PLA.
-
-
-
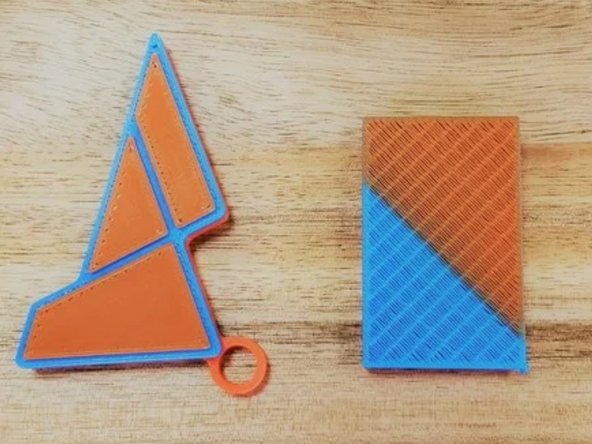
Once you have optimal splice settings for your filament, proceed with the calibration keychain print.
-
If you are in accessory mode (no Hub), please follow these instructions.
-
If you are in connected mode (with Hub), please follow these instructions.
-
-
-
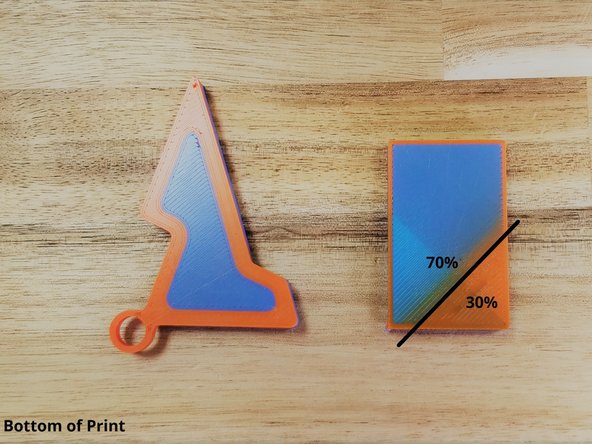
The calibration print has been designed to provide information about the calibration process and if any adjustments are needed.
-
-
-
If you don't need to redo the calibration print, then it's time to train your Palette! Try printing coasters (or any simple print that is at least 15 metres long) to get your Palette good ping data to learn from. Palette uses machine learning to get better with every print, so the more you print, the more it learns about your printer.
-
If you have any questions, please don't hesitate to contact us at support@mosaicmfg.com.
If you have any questions, please don't hesitate to contact us at support@mosaicmfg.com.
Cancel: I did not complete this guide.
20 other people completed this guide.


