Adding a Printer Profile
How to create a new printer profile in Canvas, focusing on the core machine settings.
Printer profiles can be created by:
Using a printer preset
Starting with a printer preset will automatically create a standard printer profile. Please review and adjust these settings based on your own preferences. You may test the print quality in single color first before printing in multicolor.
Importing profiles from Simplify3D, Slic3r/Prusaslicer or Kisslicer
If a profile is imported from another slicer, a style profile will be automatically generated based on existing slicer settings. We suggest reviewing these settings, testing the print quality in single color first before printing in multicolor.
Starting from blank
Guidelines on starting a blank profile are below.

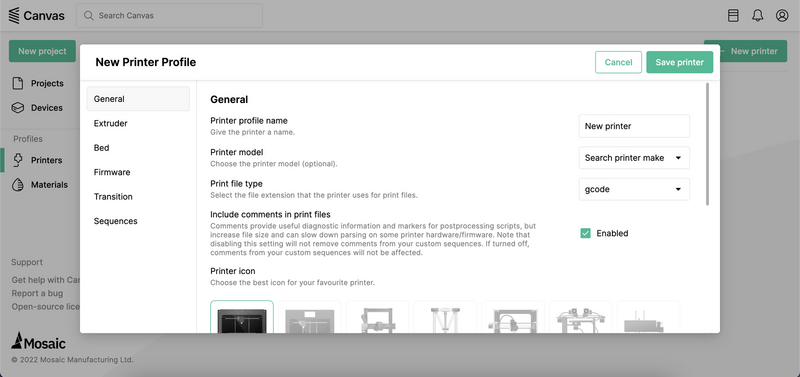
General
- Name of printer
- Printer model - Commonly used printers can be tagged in the printer profile. Printer tagging allows style profile data to be anonymously aggregated from printer profiles, and shared with others who use the same printer. When you tag a printer, you will be able to see common parameters used for slicer settings.
- Print file type - Select the file extension that the printer uses for print files.
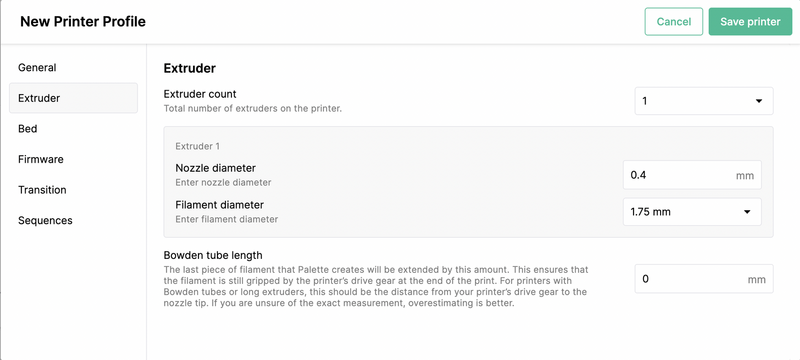
Extruder

- Number of extruders - Most FFF printers should only have 1 extruder by default.
- Nozzle diameter - Most FFF printers will have a standard 0.4mm nozzle
- Bowden tube length - Used only for Bowden-style printers. We recommend measuring from the filament feed to the tip of the hot end. It's better to overestimate than underestimate this length, so that there will be sufficient filament at the end of the print.
Bed

- Printer’s bed size - The X, Y, and Z lengths of your printer's bed. For delta printers, only the diameter and height are required.
- Origin offset - Usually located in the middle or bottom-left corner of the print bed. These offsets determine where the origin of the bed plate is located. You can specify the location of your printer’s origin (0,0). Measured in mm from the bottom-left corner. You can also set a custom origin by manually entering the Origin Offset values.
Firmware

- File type - Variations of G-Code files used by your printer. CANVAS supports G-Code (.gco, .g), .X3G, and .makerbot.
- Firmware type - Firmware used by your printer. For the majority of printers, '5D Absolute' will be appropriate
- Firmware Purge - Some printers include a hard-coded purge when beginning a print. Because this purge is not in the print file, calculated splice lengths will all be incorrectly short by this amount. If your printer has a firmware purge, estimate the amount of filament it uses here
- Use movement pauses for pinging - In accessory made, Palette calibrates with the printer by pausing occasionally on the transition tower. However, some printers are unable to pause for the required length of time. Enabling movement pauses will move the extruder back and forth instead of pausing.
- Use Firmware Retraction - Some firmware will have retractions hard-coded and you can use these instead of retraction settings in your Style Profile. If you're not sure about this feature, leave it unselected.
- Clear Buffer Command - During connected mode pings, Palette uses this G-code command to accurately synchronize itself with the printer without pausing the print. Most firmware supports G4 P0, but certain firmwares require M400 to be used instead in order to avoid a pause.
Transition

- Custom transition settings can be added here if side transitions or a purge bucket is used.
Other

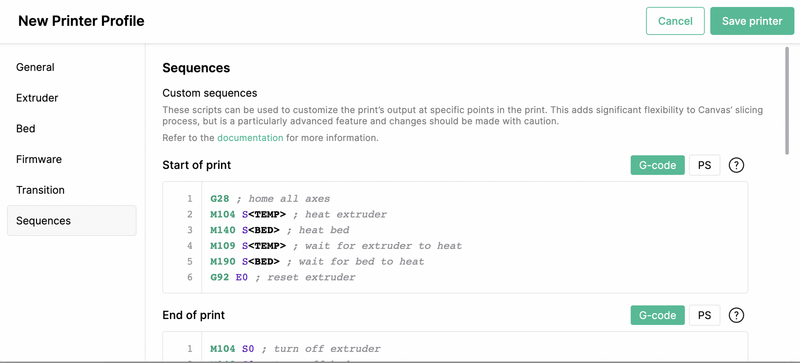
- Sequences: Start and End G-Code sequences. You may copy your printer's start and end sequence into here.
- You can learn about advanced scripting in Canvas using PrinterScript.
- Please note that if/else syntax is not supported at this time.
- Layer change scripts and side transition scripts are also available here for customization.
If you have any additional questions, please send us a message at support@mosaicmfg.com.