-
-
Power: In emergencies, turn off the printer immediately. Do not modify the power plug to avoid electric shock or fire risks. Keep hands dry when handling the power cord. Unplug the printer if not in use for long periods.
-
Environment: Keep the printer away from unsupervised children.
-
Keep clear of high-speed moving parts during operation. Avoid touching the nozzle or bed while heated to prevent burns.
-
-
-
Choose a level, stable desk or industrial workbench capable of supporting at least 25 kg (55 lbs) without rocking.
-
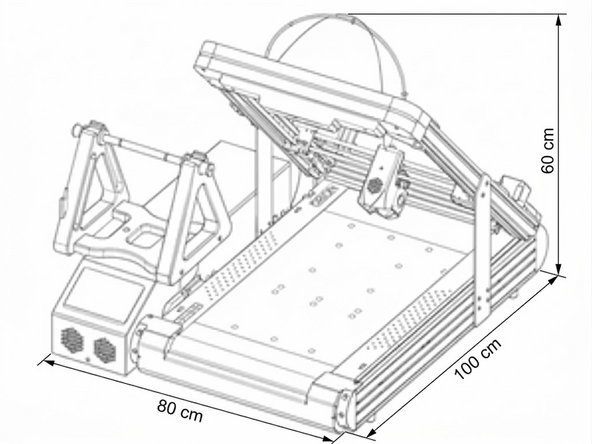
Allow at least 80 cm width, 100 cm depth, and 60 cm height clearance around the machine for unobstructed toolhead and gantry movement.
-
Position the front roller slightly over the edge or place a collection bin underneath to catch finished insoles as they automatically eject.
-
Leave at least 20 cm of open clearance on both sides of the printer so operators can easily change spools and reach controls.
-
-
-
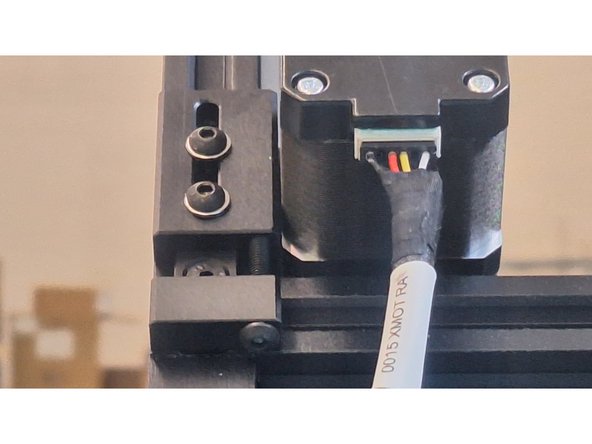
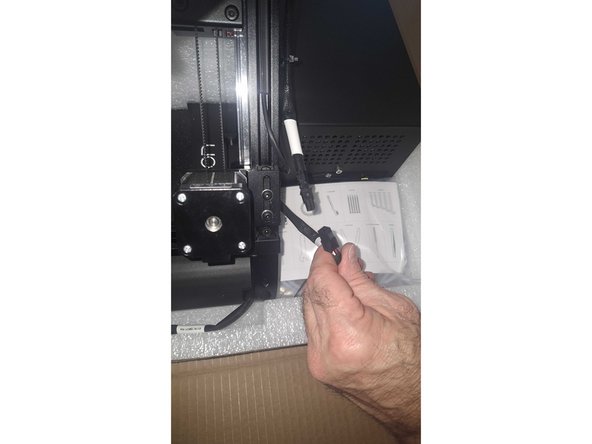
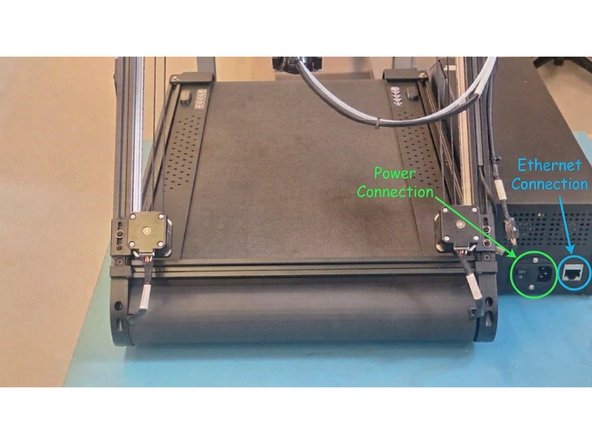
Connect the power cables to the two XY motors on the back of the printer
-
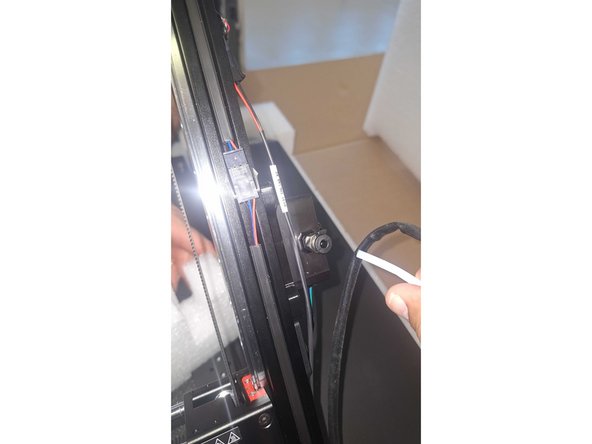
Connect the Print Head cable
-
Connect the PTFE tube to the Print Head
-
-
-
Connect the printer directly to a standard, grounded 110V AC electrical wall outlet.
-
Ensure the power cord is kept completely clear of the moving conveyor belt and heated bed assembly.
-
Do not modify the power plug or use overloaded power extension strips. Tape down loose power cables to prevent tripping hazards.
-
This power setup applies to North America only. Europe and other regions may use different power setups.
-
Locate an available local Ethernet wall jack or prepare access to your facility's 2.4 GHz Wi-Fi network.
-
Plug the provided Ethernet cable into the compute module port on the side of the printer for the most reliable connection.
-
It's best practise to connect your design computer and Orion printer to the same local network subnet, so Stryde Print can locate the printer instantly. Alternatively, the printer can also be on different network from your laptop which is running Stryde Print.
-
-
-
Place the printer in a well-ventilated, shaded, and dust-free room.
-
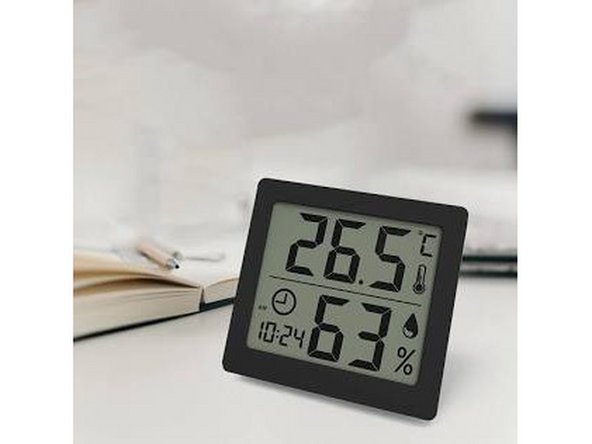
Maintain a steady ambient room temperature between 20°C and 25°C (68°F to 77°F).
-
Keep room relative humidity between 30% and 50% RH.
-
Keep the printer away from open windows, direct air conditioner drafts, or exterior doors, as temperature swings can cause nylon parts to warp.
-
-
-
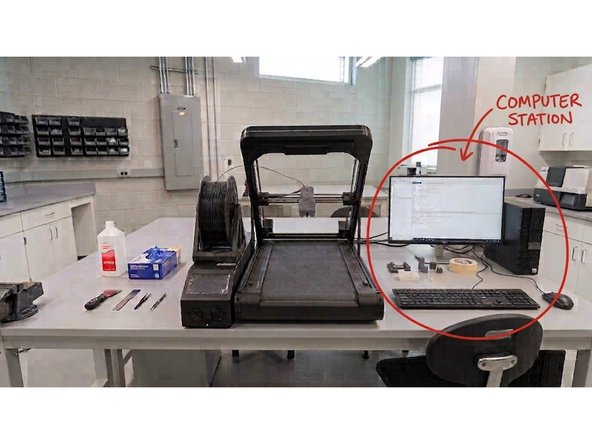
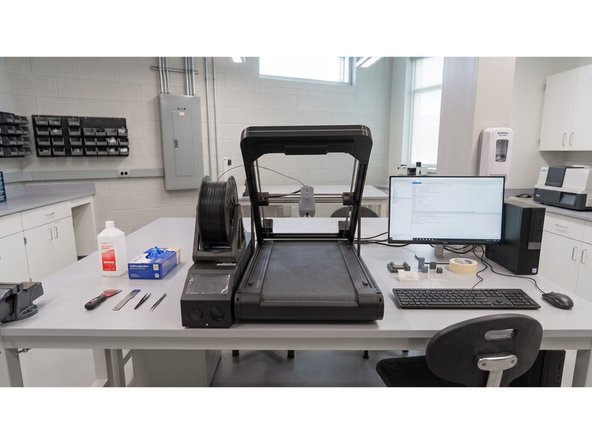
We recommend setting up a dedicated workstation. Allocate space on the desk for a laptop or desktop PC next the printer to run the control software and monitor the print queue
-
You can can bookmark the relevant software URLs for Stryde Design and Stryde Print
-
For the best experience, we recommend using a fairly recent laptop or desktop. Working with Stryde Design and uploading scanned files & downloading files can be demanding on your system, and a faster computer will keep everything running smoothly.
-
-
-
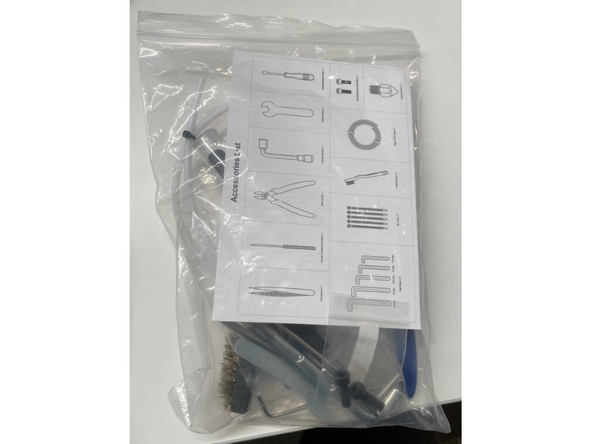
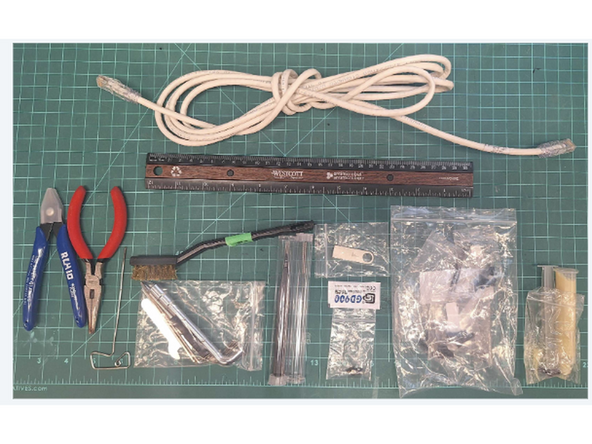
The Orion tool kit includes: Tweezers, Nozzle Cleaning Needle, Snips, Metal Brush, Align PTFE Tube, Nozzle Wrench, Metal Wrench for hot-end, Metric Allen Keys 1.5mm - 4mm, Zip-ties, Small Flathead Driver, X1 0.6mm Hardened Steel Nozzle & X2 FH M4X0.7 X15mm Bolts.
-
Other tools you may need: Needle nose pliers, USB, Ruler or Vernier Calliper, Ethernet cable, Lithium Lubrication (for rails), Thermal Paste (For Heater Cartage) & Sharpie.
-
Keep a bottle of 90%+ isopropyl alcohol and microfiber lint-free cloths nearby for routine belt cleaning.
-
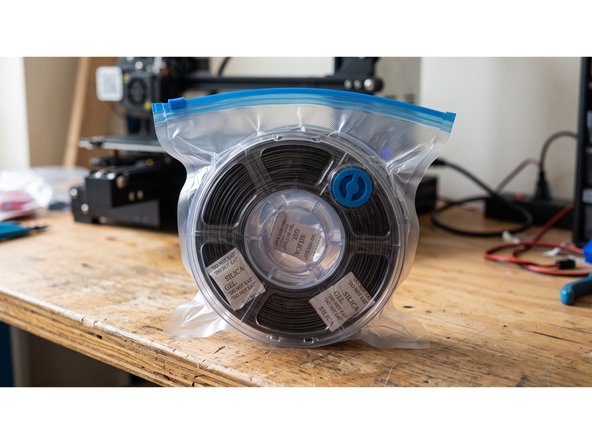
Keep filament spools sealed in airtight containers with desiccant packs until ready to print.
-
A dry box is included with your first Align Spool. The Aero Filament is packaged on its own, though compatible dry boxes can easily be found online if desired
-
We recommend placing a small bin or box under the printer so your parts don't drop straight onto the floor.
-