
-
-
Begin by unplugging the hall sensor. Unplug the three wires from the prongs on the hall sensor, and unscrew the single screw on the acrylic holder. The acrylic and the sensor will come out.
-
Unscrew the fan.
-
Remove the fan from the electronics board. On the electronics board, loosen the screws on the D10 block which will allow the red and black wire to be removed. Remove the fan.
-
-
-
Replace with the new fan. Feed the red and black wires from the fan behind the metal plate, leading to the electronics board.
-
Screw the fan to the metal plate from its four corners and screw the acrylic plate holding the hall sensor back in place.
-
Plug back in the wiring for the hall sensor. Make sure that the red wire is on top.
-
-
-
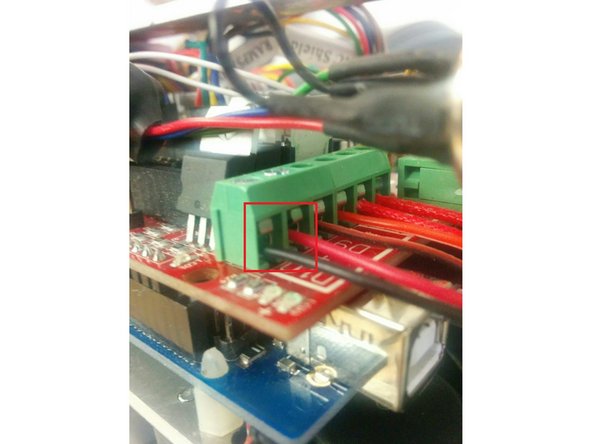
On the electronics board, re-insert the red and black wires into D10. With the board facing up, insert the red wire into the right input and the black wire into the left input.
-
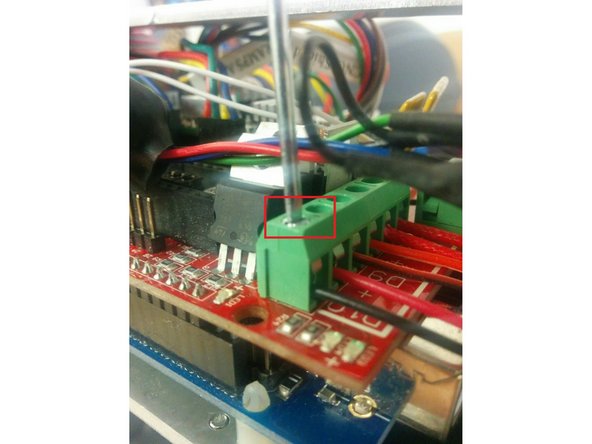
Tighten the screw above the red and black wires to hold them in place.
-


If you have any additional questions, please send us a message at support@mosaicmfg.com
If you have any additional questions, please send us a message at support@mosaicmfg.com
