
-
-
To begin, make sure Palette is not plugged into a computer or its power supply.
-
Remove Palette’s top. Use the 2.0 mm hex key (the smaller of the two hex keys in your Tool Kit) to remove the four bolts holding on Palette’s top and remove.
-
Next, detach the screen by removing the 4 screws using the same 2.0 mm hex key.
-
-
-
Once the screws are removed the screen is still connected to Palette, so carefully place this piece to the side and you'll have a clear path to the merger. Next, remove the one screw which attaches the merger to the cutter.
-
Loosen the front plate of your Palette by removing the 4 screws and carefully removing the plate with the drives attached.
-
Once the front plate is loose, place the front plate face down so that the merger tubes are pointing up. Carefully remove the merger from all 4 tubes.
-
-
-
Pull out and isolate the drive sets as you will want to work with them one at a time. Take off the acrylic drive plate on one set by removing the highlighted fasteners for each pair.
-
ONLY UNSCREW THE BOLTS INDICATED! Unscrewing other bolts will ruin calibration.
-
Once the plate is removed, you'll be able to replace the Teflon tubes. Once replaced, re-install the acrylic plate to the drive set.
-
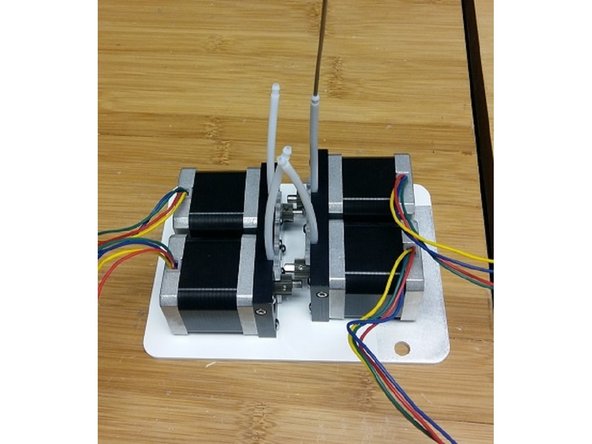
Place the drive sets back on the front plate to hold them in place. With the Teflon tubing pointing up, you'll need some assistance to replace the merger as there is a risk of kinking or deforming. We use a metal pole to help keep the Teflon tubing straight while we replace the merger piece.
-
Once all four tubes are placed into their respective spots in the merger, reassemble your Palette+ by reversing steps 1-5.
-


If you have any additional questions, please send us a message at support@mosaicmfg.com
If you have any additional questions, please send us a message at support@mosaicmfg.com
