
Introduction
Instructions on how to remove Palette 2's bottom casing for maintenance and repair purposes.
Tools
Parts
No parts specified.
Video Overview
-
-
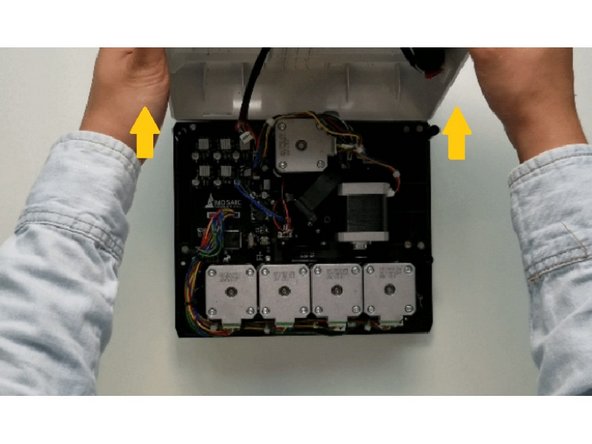
Turn Palette 2 off and remove the top lid by gently lifting from the sides.
-
Remove the ingoing cover by loosening the five thumbscrews counterclockwise.
-
-
-
Remove the 4 screws holding the bottom casing to the substructure. Two are located at the top two corners of Palette 2 while the other two are under the ingoing cover.
-
Once the screws are removed, grip Palette 2 together by the substructure and bottom casing together and flip so that the screen is facing down.
-
-
-
Please remove the SD card before completing this step as damage may be caused to your unit if left in. The substructure is connected to the bottom casing by a bundle of wires. Slowly and carefully lift the casing from the bottom up while ensuring that the wire bundle is not pulled abruptly.
-
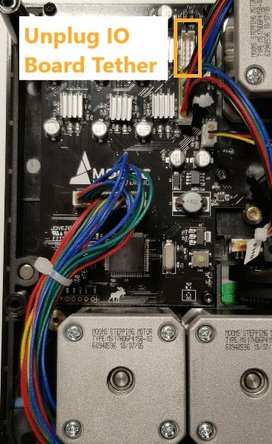
To fully detach the bottom casing, unplug from the electronics tray, leaving only the substructure.
-
Once the bottom casing is free, you'll have access to replace certain pieces of hardware, including the electronics tray and the fan.
-


If you have any additional questions, please send us a message at support@mosaicmfg.com.
If you have any additional questions, please send us a message at support@mosaicmfg.com.
Cancel: I did not complete this guide.
One other person completed this guide.
