
Introduction
These instructions are for Palette™ owners whose belt have disconnected from the cutter wheel. Although the following steps show only one side of the belt being disconnected, this manual will help solve the issue for either side of the belt falling off the cutter wheel.
You will need a pair of pliers/pinchers and the 2.0 mm hex key (the smaller of the two hex keys in your Palette Tool Kit).
Tools
Parts
No parts specified.
-
-
Use the 2.0 mm hex key to remove the four bolts holding on Palette’s top. Remove Palette’s top. Make sure Palette is not plugged into a computer or its power supply.
-
Use the 2.0 mm hex key to loosen the three bolts.
-
Once the bolts are loosened, you are able to slide the motor along the tracks. Please shift the motor so that the bolts are at the lowest position along the tracks.
-
-
-
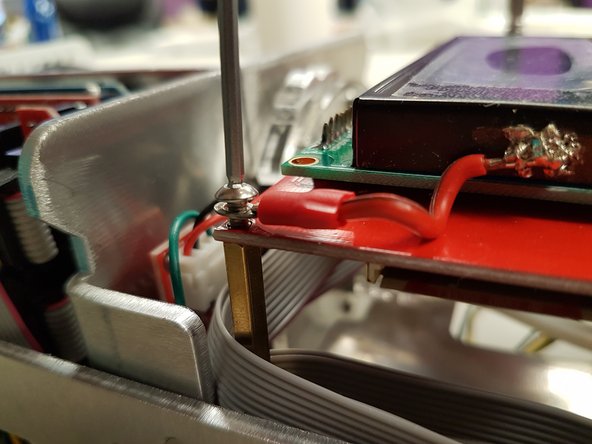
Remove the LCD screen by unscrewing the four corner bolts with the 2.0 mm hex key.
-
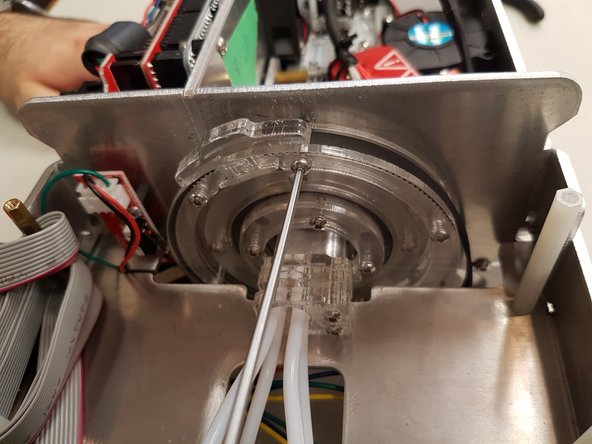
Once the cutter wheel is free of obstruction, you will need to remove the nut and bolt from the cutter wheel. Remove the corresponding bolt and nut from the end that the belt has disconnected. (i.e. when you are looking at the cutter wheel, if the belt has disconnected on the right side, remove the right nut and bolt, and vice versa).
-
Holding the nut with a pair of pliers/pincers, carefully unscrew the bolt using the 2.0 mm hex key.
-
-
-
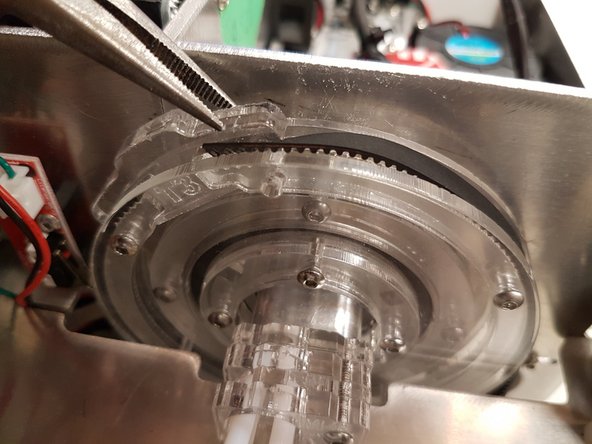
Once the bolt is removed, use your pliers/pinchers to lift up the T-tab in order to slide in the belt.
-
It will be easier to slide the belt in at an angle once the T-tab is lifted. During this step, also ensure that the cutter belt is lined up with the grooves in the cutter wheel.
-
Once the belt is back in place, replace the nut and bolt to secure the T-tab onto the cutter wheel.
-
Also test to see if the belt is secure by pulling the belt. The belt should hold and not slip.
-
-
-
Once the belt is secure, replace the screen portion. Please be sure to screw the wires to the top-left corner of the screen portion.
-
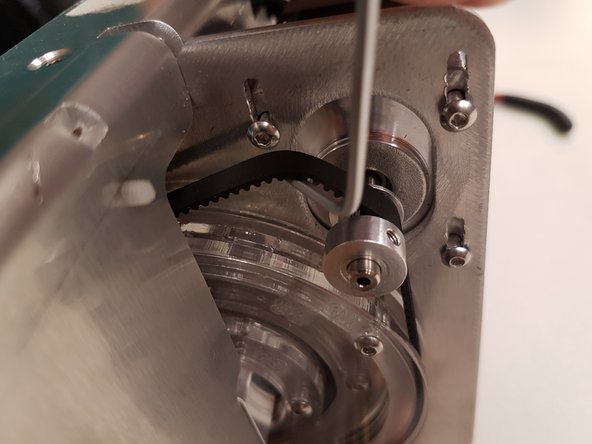
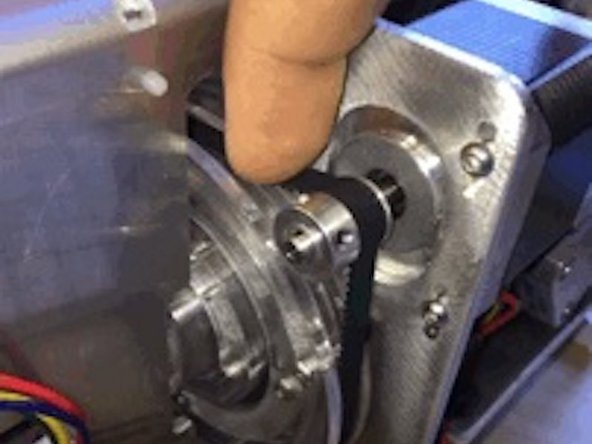
Once the screen portion is replaced, tighten the tension of the belt by moving the motor along the tracks. You can slide the motor up to tighten the belt tension, or lower the motor to loosen the belt tension.
-
Ensure that the belt is tight enough to turn the wheel, but also loose enough so that when you press down on the belt, there is some slack.
-
Once you have the desired tension and motor height, tighten the bolts with the 2.0 mm hex key.
-


If you have any questions, please contact us at support@mosaicmfg.com.
If you have any questions, please contact us at support@mosaicmfg.com.
